To upload your customer data, watch this video or can follow the steps in this tutorial.
If you don't have accounting software or if you have one but still not supported by our integrations, you can upload your customer data to Peakflo manually with the help of .XLSX or .CSV template files.
Before getting started, do ensure that you've invited your team members and have assigned them the AR Admin or Account Manager role so they can start uploading the data.
While defining a team member's role, do note that account managers will have access only to the customers that are assigned to them. On the other hand, an administrator can access all customer data.
Once you've added users, let's get into the steps:
1. Download a copy of the customer upload template in .XLSX format and fill in the details required to start uploading your customer info details.For step-by-step instructions on how to upload customer info details, click here.
- Ensure the customer ID (customer unique number) are not repeated.
- To find the "Customer ID", check out this link.
- In the Account Manager's email address column, enter the email ID of your team member who will be assigned against the customer.
2. Next, go to Settings -> Mass Upload Customer Names and click 'Upload Customer Files' and upload the .XLSX file with your customer info.

3. Once the customer files are uploaded, download a copy of the contact sample file in .XLSX format and fill in your customer contact details such as email ID, name, phone number and define if the contact person is the primary contact or not.
For step-by-step instructions on how to upload customer contact details, click here.
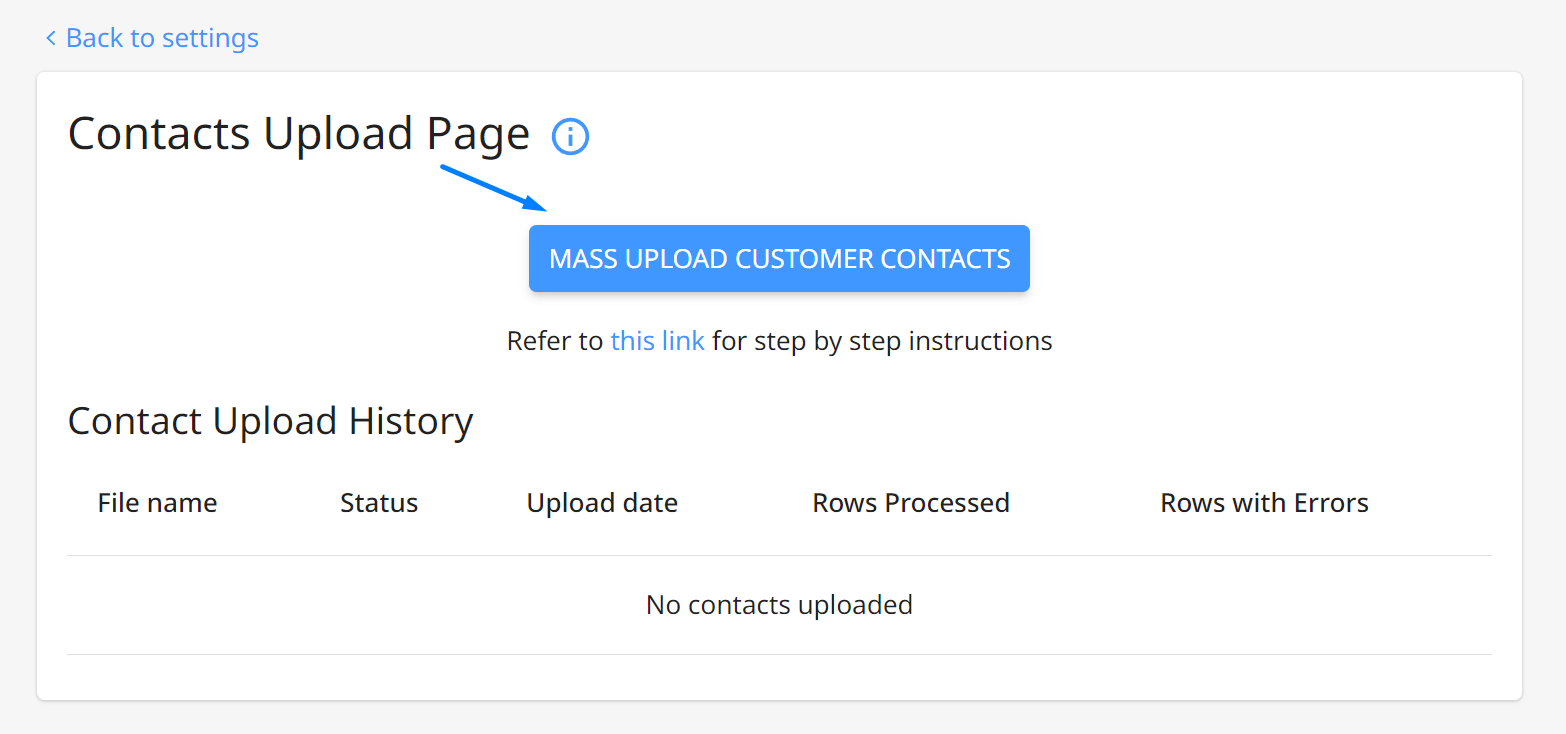
4. Then, go to Settings -> Mass Upload Customer Contacts and click 'Upload Contacts' and upload the .XLSX file with your customer contact details.
5. Once the customer and customer contact details are uploaded, download a copy of the invoice sample file in .XLSX format and fill in your customer invoice details.
For step-by-step instructions on how to upload your customer invoice details, click here.
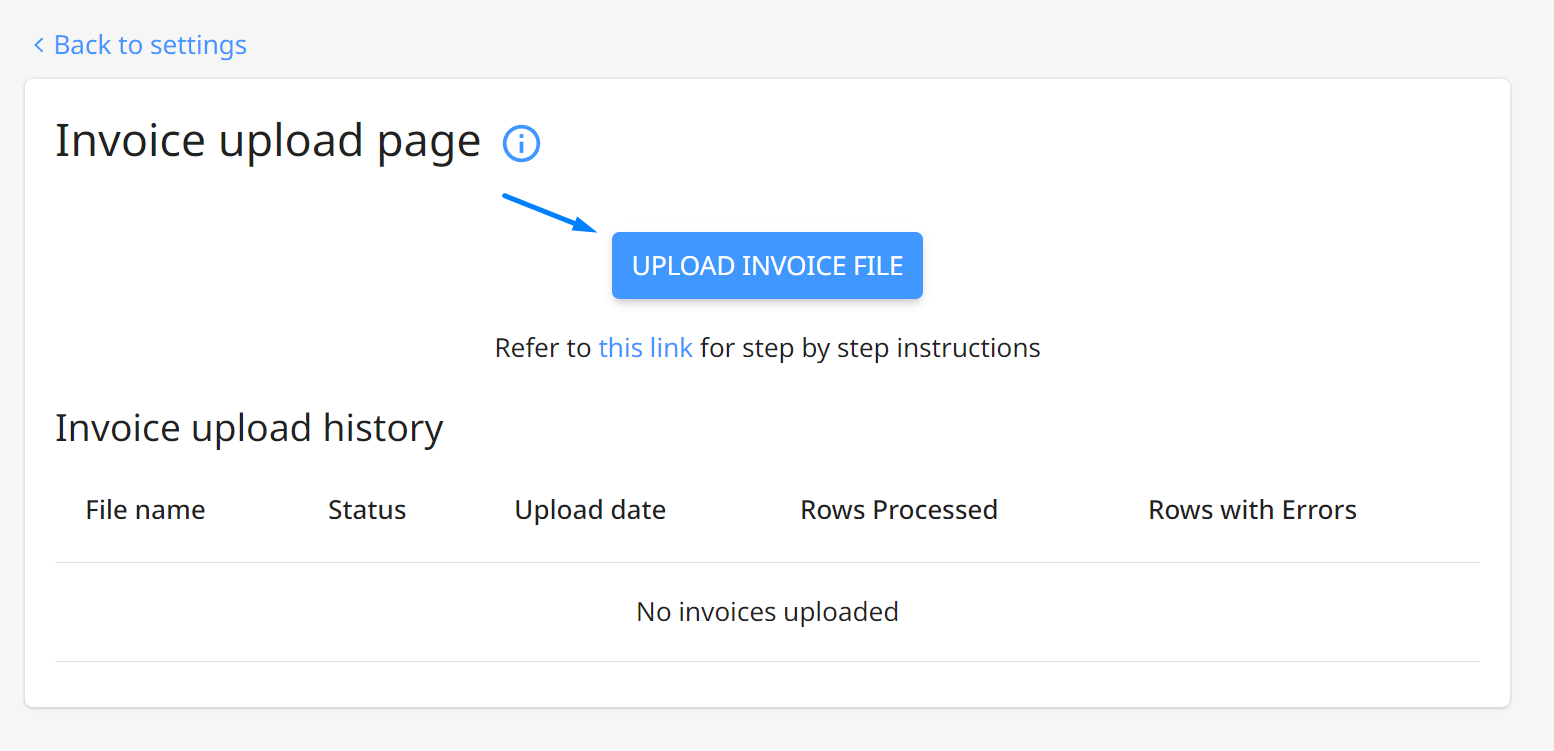
6. Next, go to Settings -> Upload Invoices and click 'Upload Invoice File' and upload the .XLSX file with your customer invoice details.
Once all your customer details are uploaded, you can now add your customers to workflows to streamline your accounts receivable process.
Check out this video to know more about workflows and how to set them up.
Or, read our tutorials:
- How to set up an accounts receivable workflow
- How to add actions to my workflow
- How to assign customers to workflows