How do I assign workflows to multiple customers at once?
From the get-go, Peakflo already assigns a default workflow to your customers, which you can find in settings under Account Receivable Workflows
So, if you want to edit the default workflow or assign many customers to workflows at one time, here are the steps you should take:
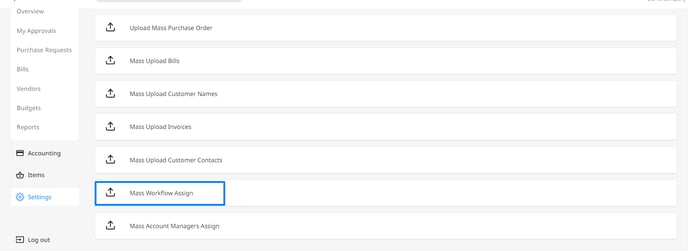
- Go to Settings tab ⚙️
- Scroll all the way down until you find "Mass Workflow Assign", and click on it 🖱️

3. Prepare the sheet for the Mass Upload
🔽 Download the template file here!

-
- The template file contains 2 columns:
1. workflowId
2. customerId
- The template file contains 2 columns:

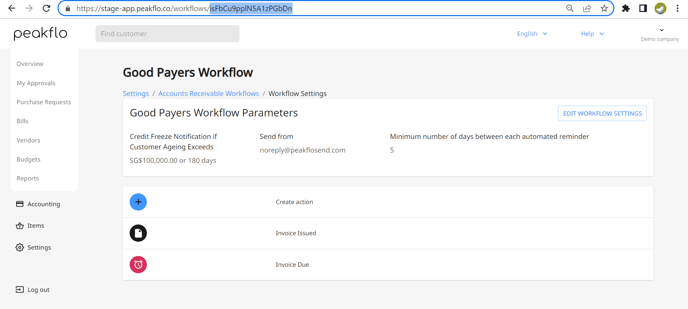
5. Click on the workflow you want to use e.g Good payers workflow

6. Workflow ID is highlighted in the URL as shown in the screenshot below

7. To find the Customer ID, check out this link.
8. Before uploading, please make sure your mass workflow assignment file looks as shown below
.png?width=688&name=Untitled%20(11).png)
10. Now that your file is ready, you may upload it by clicking on the "Upload Mass Workflow File" button
And that's it!