Sending out professional invoices to customers is important in improving business impressions and establishing authority.
Let's check how to create professional invoices in a couple of easy steps!
Before proceeding with the steps, make sure you've enabled your company branding. To do so, read how to enable professional branding on invoices.
2. Once you're in the Invoice section, first select the Customer you'd like to issue an invoice for.
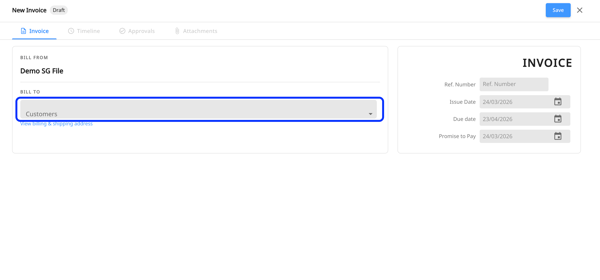
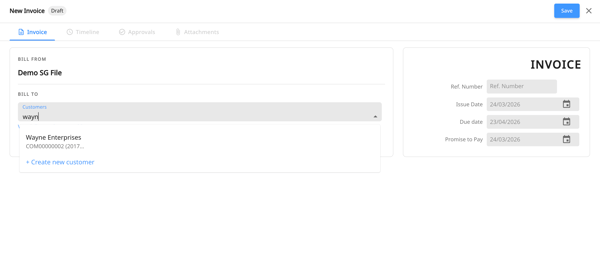
Type in the customer name and select from the drop-down. You can also create a new customer.
Make sure that the customer is assigned to an account manager before creating an invoice. Read how to assign account managers to customers.
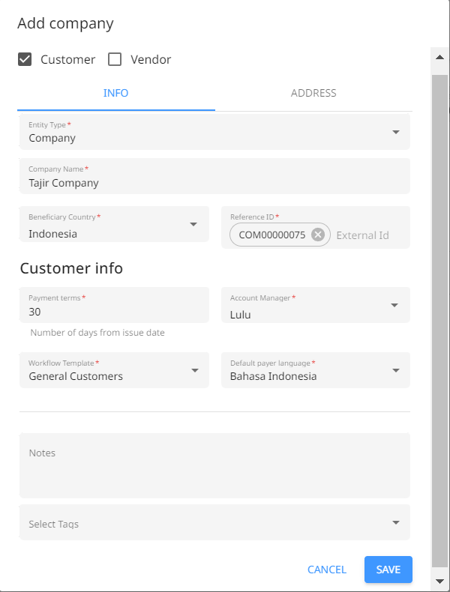
3. If the customer is not added to Peakflo yet, simply click "Add new customer" and fill in their profile. You can tag them as a customer or a vendor, categorize them into a specific workflow, assign them an account manager, and such. Make sure that all lines are filled.
4. Once you've selected the customer, you'll be able to fill out the rest of the fields:
-
Reference numbers: The reference numbers of the invoice, should be at least 5 characters.
-
Issue date: The date the invoice is issued.
-
Due date: The date the invoice is due.
-
Promise to pay date: The date the customer promises to pay the invoice (not mandatory)
- Match PO: Choose the purchase order you want to base the invoice on. The line item details will be auto-filled as per the matched PO.
-
Additional Information: The field under additional information are custom field. To learn what custom fields invoices are and how to create them, check out "How to create invoice custom field and mass upload invoice custom field details?"
-
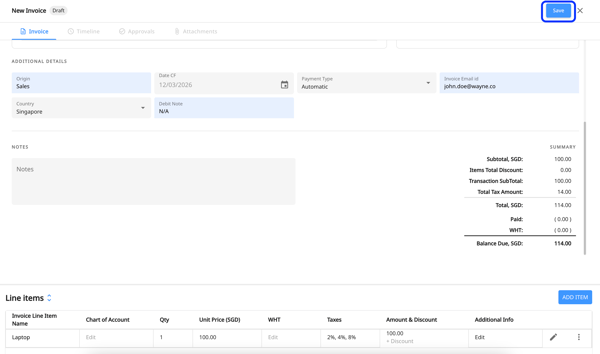
Notes: Add any notes as necessary.
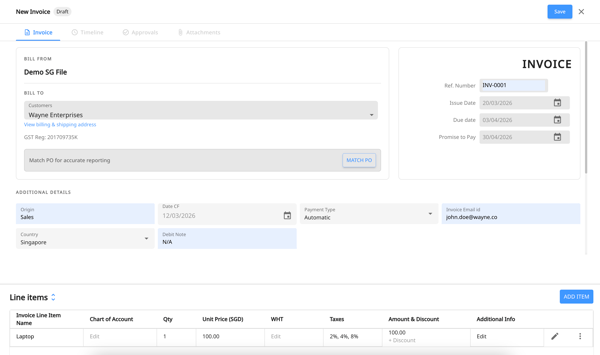
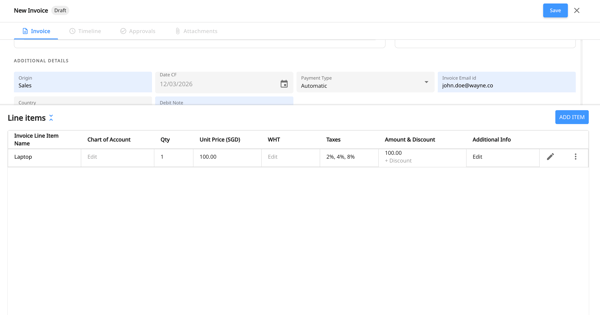
Line Item: Add an item or choose from the drop-down. If you do the latter, the quantity, unit amount, chart of accounts, discount, taxes, and total amount will be auto-filled according to what you've added to the Item page. Click on Add item if you'd like to add more entries. To edit a line item, click on the pencil icon.
5. Make sure everything is correct and hit Save!
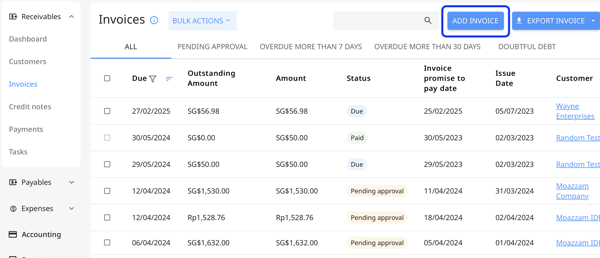
6. Once done, the invoice will be visible in the dashboard, where you can start tracking its status. You can also check the invoices that have been overdue for more than 7 days, 30 days, or become doubtful debt by clicking on the relevant tab.
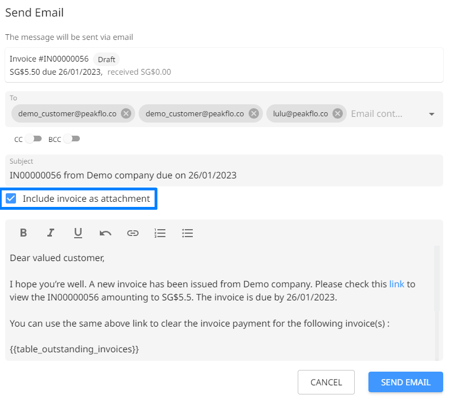
7. Let's say you'd like to send the invoice you've just created to customers. In the Invoices dashboard, click on the invoice you'd like to send. Once you're inside the invoice, click on the three dots at the top right, where there'll be the options to send the invoice via email. 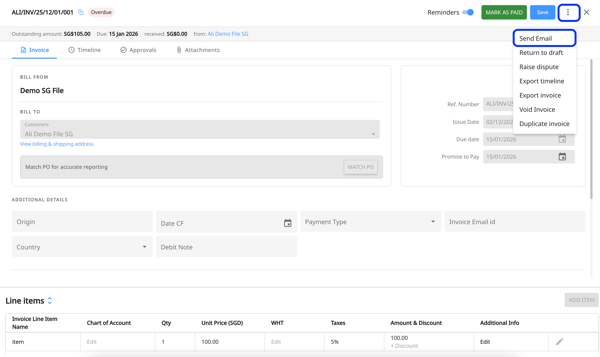
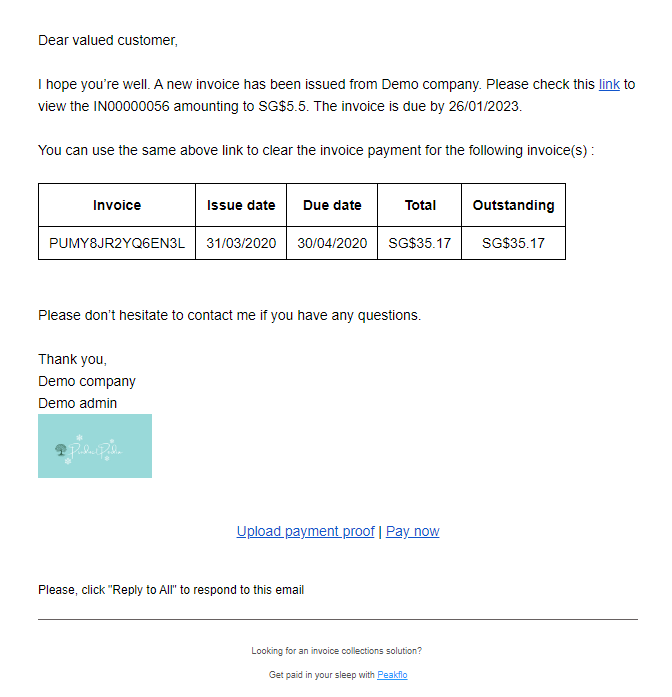
9. Your customer will shortly receive the email with the invoice PDF.
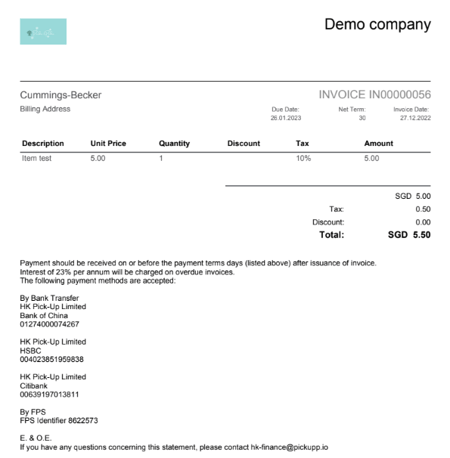
Here's an example of how a professional invoice PDF created in Peakflo looks like:
You can also include more than one tax rate to invoice line items in the PDF.
For adding bifurcation of taxes for each line item in the invoice, please send an email to support@peakflo.co. 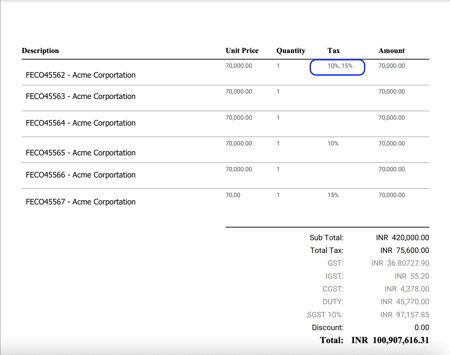
FAQ
How is the foreign exchange (FX) rate determined when an invoice is created with a future issue date?
When an invoice is created with a future issue date and is fully approved, the FX rate applied is the rate on the date of approval. This means that the foreign exchange rate used for converting the currency on the invoice will be based on the exchange rate on the date of invoice approval.
How to generate GSTIN, IRN, and QR code for every invoice?
If you're a growing business in India and would like to validate the legitimacy of your invoices to build trust with your customers, you can now generate GSTIN (Goods and Services Tax Identification Number), IRN (Invoice Reference Number), and QR code for every invoice by integrating Peakflo with your IRP (Invoice Registration Portal).
🚀 You're off to a better invoicing experience! Curious to take this to an even higher level? Explore our guides: