Having professional branding is important in every invoice to strengthen your impression toward the customers.
To enable your professional branding, follow the steps below:
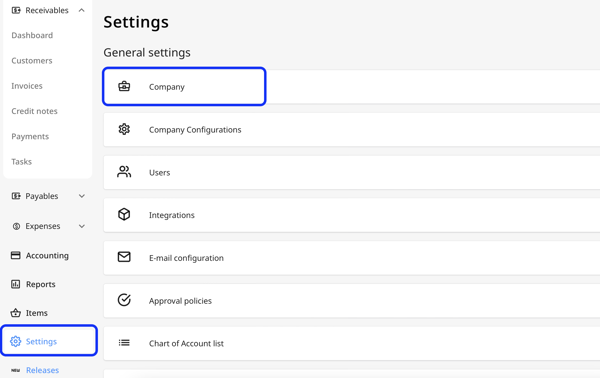
- Go to Settings and click on Company.
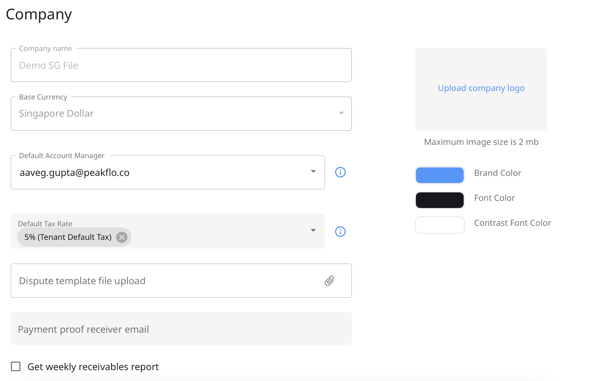
- Fill in all the required fields -
Company Name: This refers to the official name of your company or business entity that will be displayed on all invoices and communications with customers.
Base Currency: The base currency is the primary currency used for all financial transactions within your business.
Default Account Manager: The default account manager is the person who will be assigned to manage all new customer accounts.
Default Tax: This setting allows you to specify the default tax rate to be applied to invoices.
Dispute Template: The dispute template is a predefined format for addressing and resolving any disputes that may arise with customers regarding invoices.
Payment Proof Receiver Email: This is the email address of a user where payment confirmation or proof should be sent.
Get Weekly Receivables Report: You can also opt-in to send out weekly accounts receivable reports straight into your clients' inboxes.
Company Logo: Adding your company logo which will get displayed in invoices and customer portal.
Brand Colors: Select brand colors that align with your company's branding guidelines.
The changes will be reflected on the invoices and customer payer portal.
For the full process, you can also take a look at the video below: