Table of Content
Add Invoice Custom Field
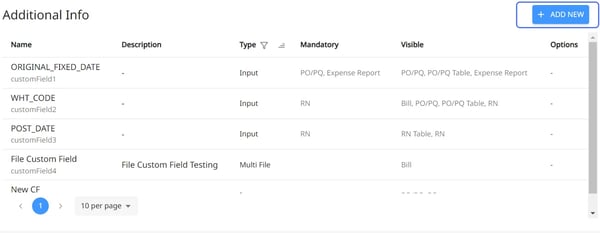
- Go to "Settings" and click on "Custom Fields" under general settings.

- Click the blue "Add New" button at the top right.
- Once a popup appears, fill out the following fields:
Name: The name of the custom field or the detail you'd like to add when managing invoices and invoice line items. It could be "Beneficiary country", "reference number", and so on.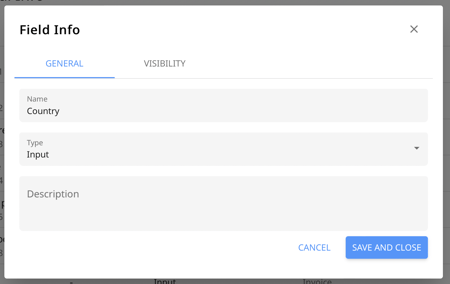
Type: Set how the data should be filled by your internal teams, such as in the form of input, number, list, multi-list, multi file, or date.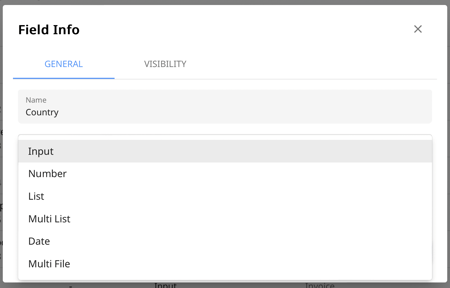
The difference between a list and a multi-list is that for lists, only one item from the list of items can be chosen whereas for a multi-list more than one item from the list can be chosen.
If you select the Multi File input field, it will give you the option to upload multiple attachments.
For example, if it's a list or a multi-list, you'll need to provide the first, second, third item, or more. Click on the Add Item button to add more items.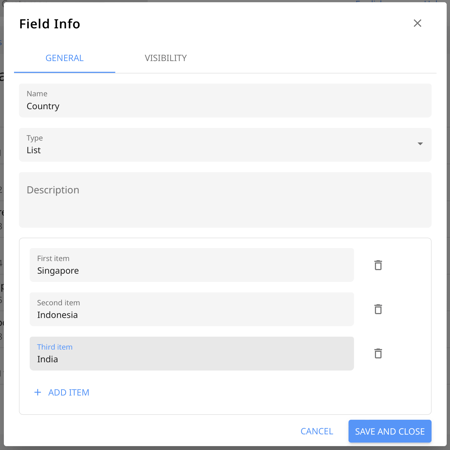
Description: Describe the purpose of the custom field to help your internal teams understand how to fill it out.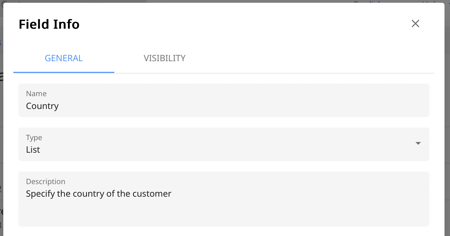
- Now click on the Visibility tab and tick where you'd like the custom fields to appear for invoices.
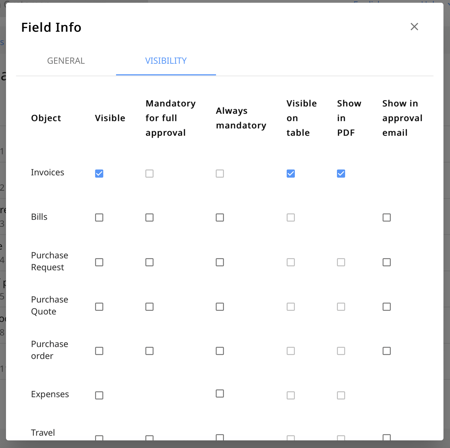
- Visible: Visible as a field in the edit form

- Visible on table: only visible in the table view
- Show in PDF: Show the custom fields in the invoice PDF export

- Visible: Visible as a field in the edit form
When a custom field contains multiple paragraphs of text, it will begin on a new page, with a separator provided between each paragraph for clarity.
- Click on Save and Close to save the invoice custom field.
Mass Upload Invoice Custom Field
Before we begin, read the article on "How to mass upload customer invoice details?"
Once you understand how to mass upload invoice details, follow the simple steps below.
6. In the template, add a column for your custom field which you have created by following the steps 1 through 5.
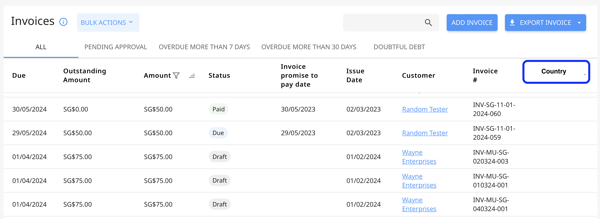
In this example the column name will be "Country".
7. Add the values to the column corresponding to the invoice details.
8. Finally upload the file in Peakflo. You will see all the custom field values along with the other invoice details.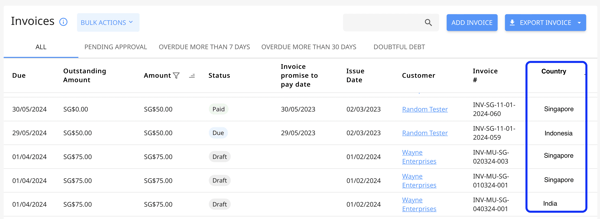
Just like that you can create as many custom fields as you want for your invoices and mass upload the invoice custom field details to Peakflo.
FAQ
Do custom fields of type “Number” support decimals?
Yes, number-type custom fields support decimal values. You can enter both whole numbers and numbers with decimals.