With Peakflo, you can start collaborating with your team members on high-value tasks and increase productivity by over 50% 🚀
How to add a new user?
Mind that only admins have permission to add team members. Whether you'd like to assign roles for users as bill maker/checker or auditor, follow the steps below to invite your team members:
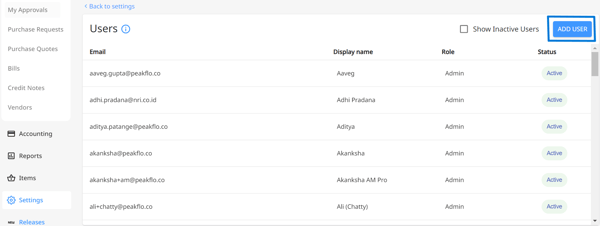
- Go to Settings -> User and click 'Add User' that's on the right side of the screen.
2. Next, enter the details of the team member that you want to invite.
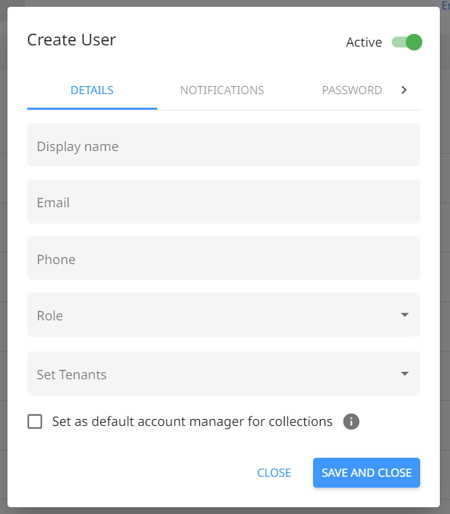
3. Select the role based on their position in the company or the types of access you'd like to grant the user.
Check out this article to see all the accounts payable roles and permissions: Accounts Payable Roles & Permissions.
You can create customized roles and permissions based on your company's requirements. To create custom roles, send an email to support@peakflo.co
Once you've chosen a role for the user, you can get a clear view of all the permissions each user will have based on their roles.
To find out more about roles and access, read more on:
- Getting started with Accounts Payable: Admins
- Getting started with Accounts Payable: Bill maker/checker
- Getting started with Accounts Payable: Procurement Team
- Getting started with Accounts Payable: Accountant
- Getting started with Accounts Payable: Employees
- Getting started with Accounts Payable: Auditors
4. Select the tenant(s) you'd like the user to have access to.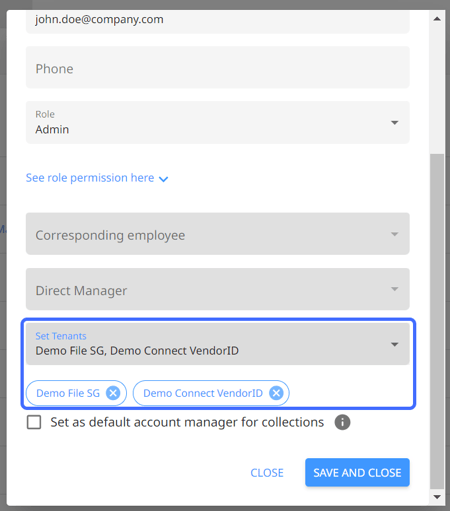
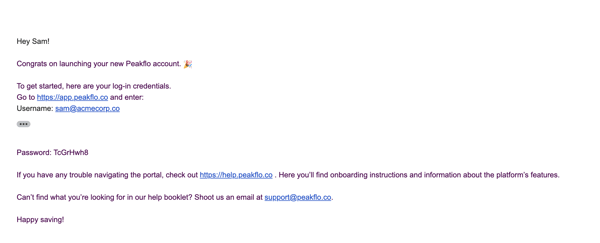
5. Click Save and Close, and the created user will automatically receive an email to join your team.
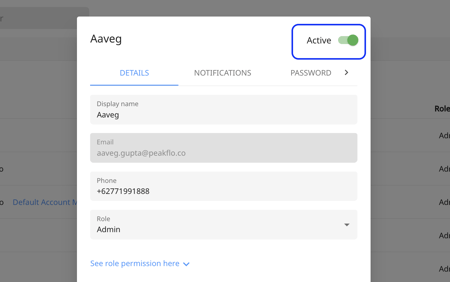
6. Admins can edit user information by clicking on the user name from the “Users” view. Then click on Save and Close to record the changes.
How to assign a Direct Manager to a user?
After the user is created, you can edit the Direct Manager details for the user.
1. Select the user to whom you want to assign Direct Manager.

2. Click on the "Direct Manager" field.
 3. A list with all users will appear. Select the Direct Manager Name.

4. Click "Save" to record the update.

Important Note:
If the user is assigned to multiple tenants, then any updates made to the Direct Manager will be reflected on all the tenants.
How users can enable notifications and reset passwords?
Once the user is created, the user can log in, modify their notification settings, and reset their passwords.
1. Users will receive an email with the login credentials.
2. After logging in users can go to My Profile.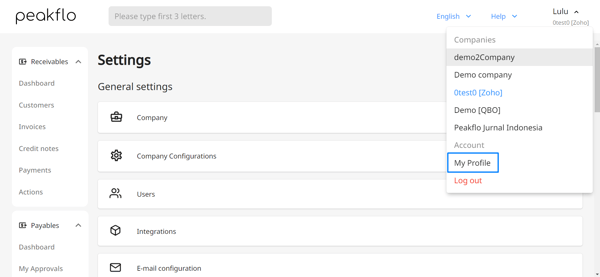
3. Then go to the Notifications tab. Here, the user can change the email or WhatsApp notifications that they would like to receive.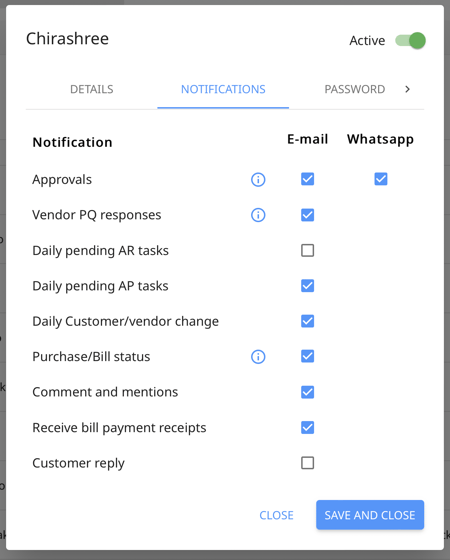
4. Go to the Password tab if the user wants to reset the password. Click on Send password reset email to get an email on the user's email ID to reset the login password.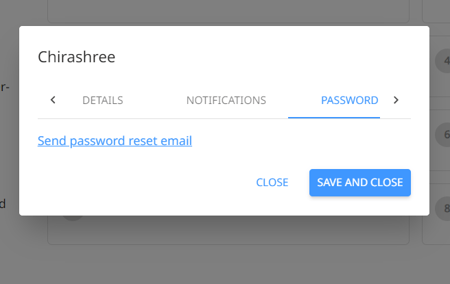
5. In the Signature tab, users can upload their signature which will get included in the approvals. The maximum size of the signature file should not be greater than 1 MB.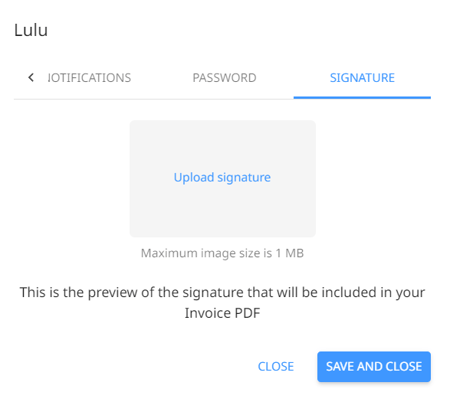
6. Make sure to check everything before clicking Save and Close.
How to deactivate a user?
Note: Only Admins can deactivate a user.
1. Go to Settings -> User and click on the user name you want to deactivate.
2. Click on the toggle on the right side of the screen to deactivate a user. Then click on the Save and Close button.
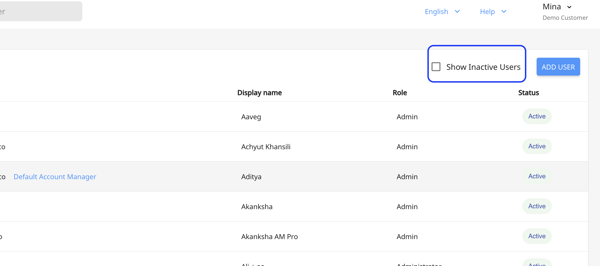
3. For accessing the inactive users, admins can tick the Show Inactive Users from the top right side of the “Users” view.
For more information, check out our help portal at help.peakflo.co or send us an email to support@peakflo.co