This article outlines the necessary steps from creating a Purchase Request (PR) to obtaining the required approvals. Here is a process flow diagram illustrating the stages involved in the creation, approval, and conversion of PRs into Purchase Quotes.

Creating and approving a PR in Peakflo is pretty straightforward, all you need to do is follow the steps below:
1. From the left sidebar, click on "Purchase Requests" under the "Payables" Tab.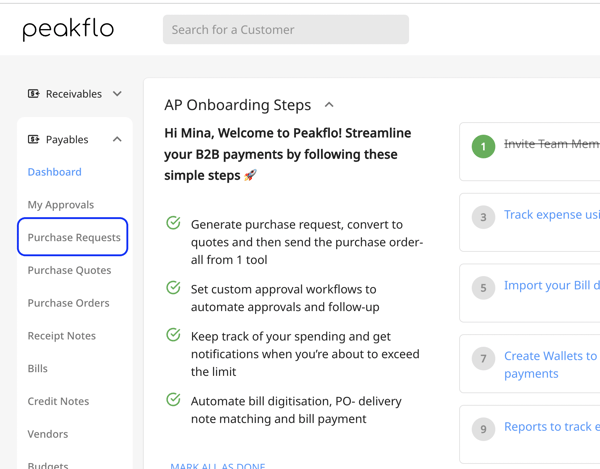
2. Click on "Add new" to create a new PR. 
3. A new window will appear. Fill in all the details to create a PR.
For the "PR Number", you can either manually add a purchase request number or click "Generate" so that Peakflo can create a PR number automatically.
The "Date" field is the date that the PR is created.
The "Due Date" is the date that the PR needs to be provided.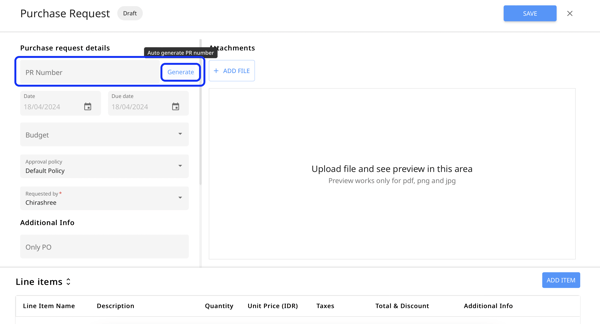
4. Next you can assign a "Budget" from the dropdown list to the PR. If you wish to create a new budget and learn more about Peakflo budget management, check out this link. Keep in mind that this field is not mandatory to fill out this field. 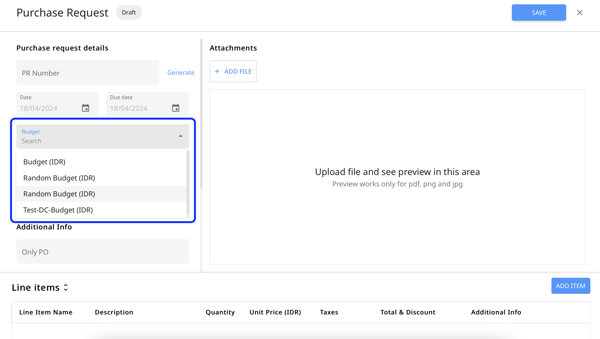
You will be able to see if the budget is exceeding, like the image below:
If the procurement team selects a budget that exceeds its limit (i.e., more than 100%) while creating or editing a purchase request, the system will not allow users to save. It will show an error message: "Budget limit exceeded, please select another to continue." Users will have to select another budget to proceed.
Also, you will be able to see if the budget is within limits, how much is spent, and how much is assigned, like the image below.
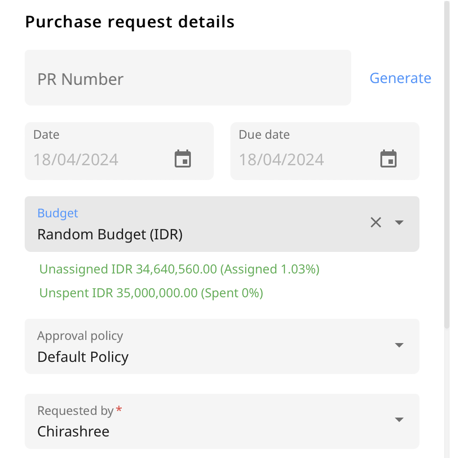
5. Assign an "Approval Policy" to your PR by clicking on the dropdown button. if you wish to learn more about how to create an approval policy, check out this link.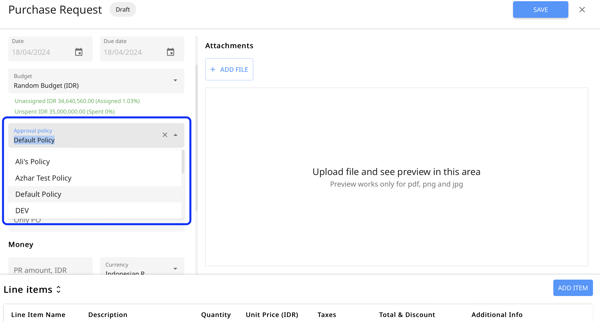
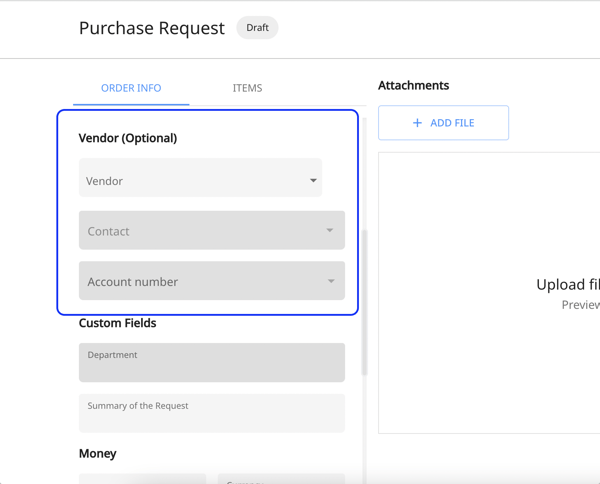
6. If you already have a specific "Vendor" in mind, please add the vendor details.
Note: Keep in mind that at the time of creating a PR, it's only optional to add vendor details and PRs could also be created without a vendor.
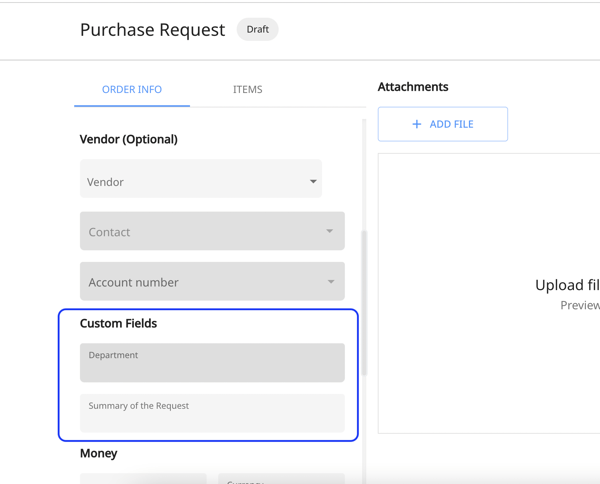
7. Fill out the custom fields in case there are mandatory custom fields assigned to the PR
In Peakflo, you can easily create custom fields to make your purchase requests more dynamic. These custom fields could be defined as mandatory or optional fields based on your company's requirements. To learn more about custom fields, check out this link.
8. For adding line items, you can go to the "Line item" section and click the expand icon.

9. You can add more items to the PR form by clicking the "Add Item" button.

10. To add information to a line item, click on the edit icon and then fill out the information.
You can also add additional information to each of the line items from here using custom fields.
11. You can also add attachment files by clicking on the "+Add File" button.

Please be aware that the file attachment size should not exceed 10 MB.
12. Click on "Save" to keep the changes.
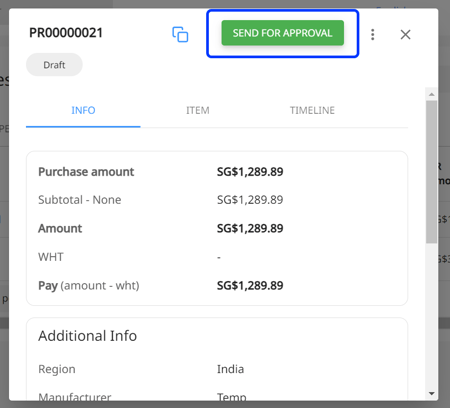
12. Click on the newly created purchase request and click on the "Send for Approval" button.