How to add rules into approval workflows (and edit them)?
Using custom rules will be a powerhouse to your organizational process, especially if you're managing multiple projects, departments, and business units. It provides you control over which stakeholders can approve certain purchases, bills, or transactions.
In this article, we'll discuss:
Creating rules
Of course, you won't be able to create a powerful approval system if you don't have the superpower, in which case is the custom rule. It works in the if x, then y formula.
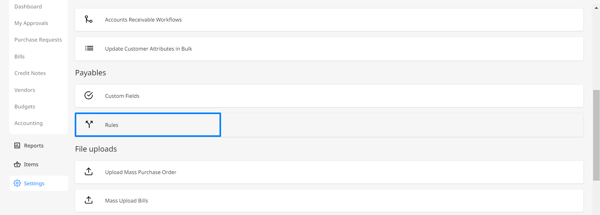
- Go to Settings and click on Rules
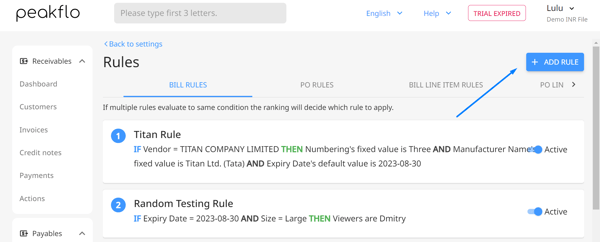
- Click on Add Rule at the top right.
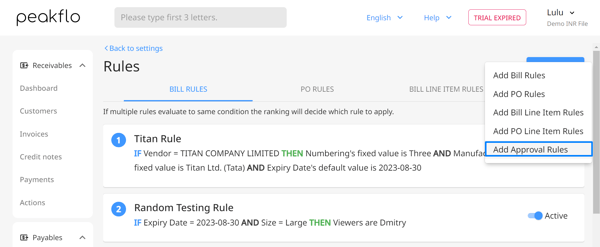
- Select Add Approval Rules.
- Fill out the approval rule name. For this example, let's call it "Engineering Approval Policy"
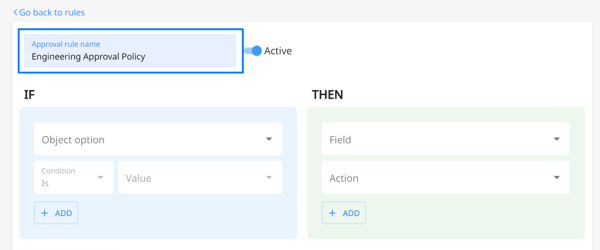
- In the IF section, you can choose among amount, currency, budget, vendor, and other object options you've set with your custom fields.
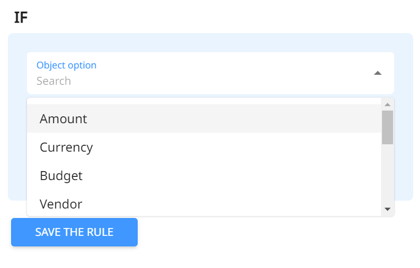
- The condition will also vary depending on the object option you've chosen.
For numerical values such as amount, the condition could be equal, less than equal, less than, greater than, and greater than equal.
Descriptive values such as currency and budget could either have the conditions equal and not equal or is and is not. - Next is the Then field. This is where you'll have flexibility in terms of adding the relevant approvers.
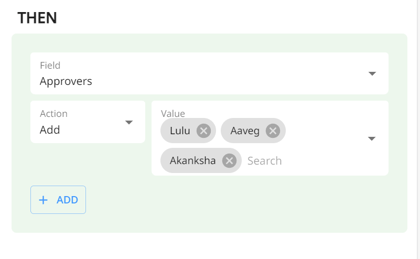
Editing Rules
Let's say you've changed your mind regarding the conditions you've applied to your rules.
Simply go back to the Rules from Settings, and refer to the Approval Tab.
Here you'll see a list of rules you've created. Click on the one you'd like to edit and you can reconfigure the if x, then y formula.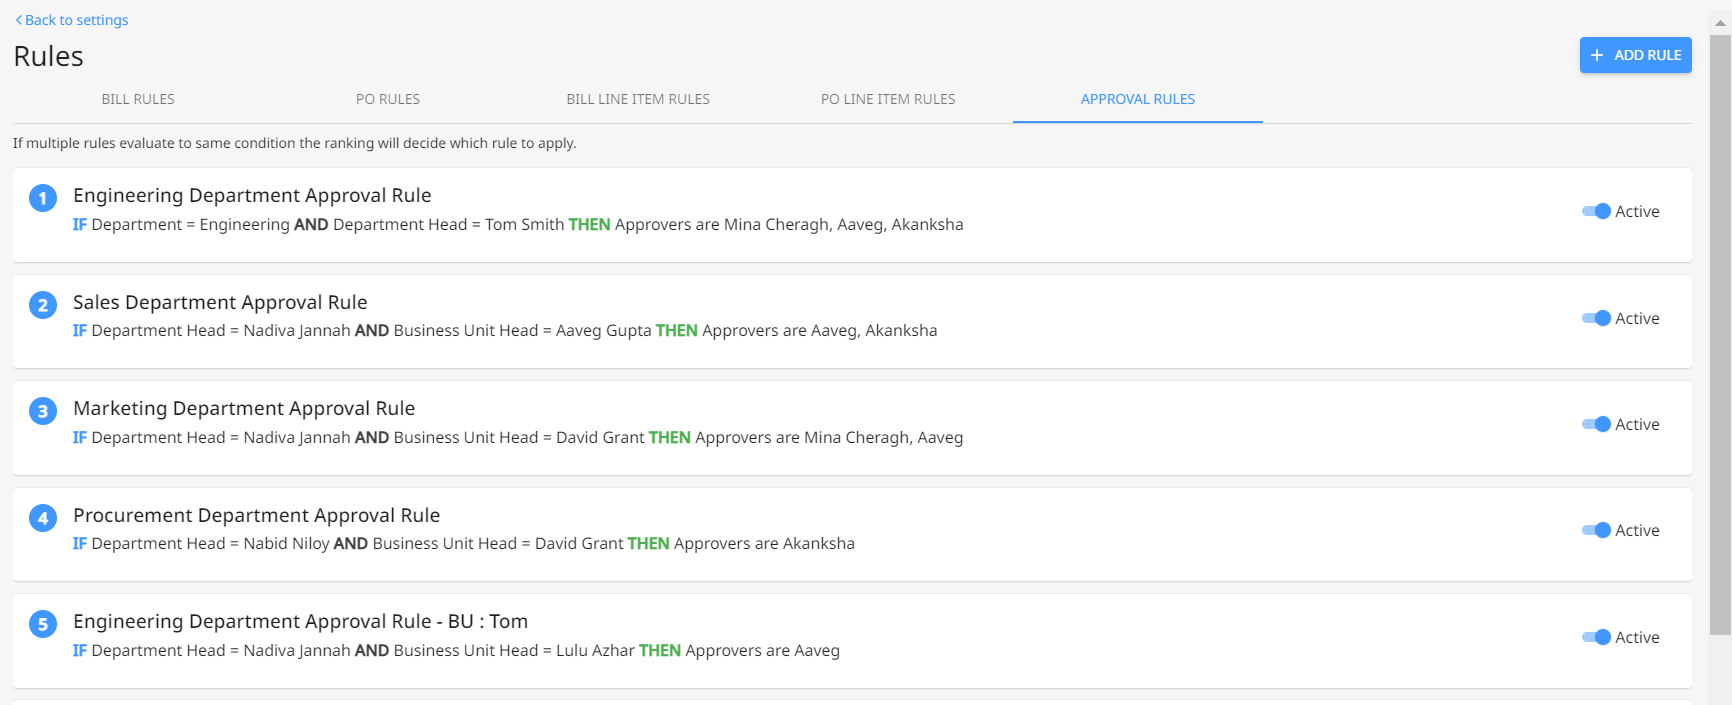
Adding rules to approval
Now that you've created a powerful formula, let's see how we can use it for greater causes, such as turbocharging your approval workflows.
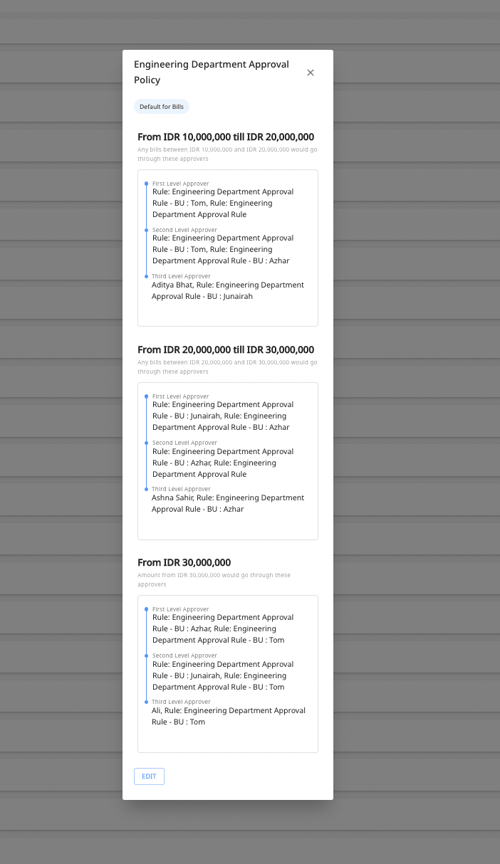
- In Settings, go to Approval Policies. Here you can either add new or edit an existing workflow.
- When selecting the approvers, instead of adding users - add the rules you've created.
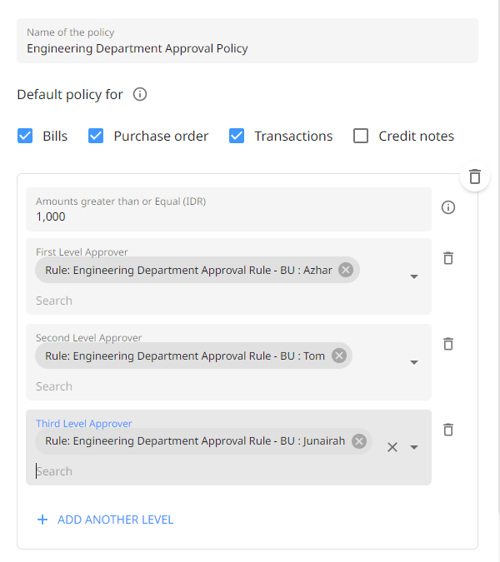
- And let the power take over your approval process!
