To send reminders to customer for payment on the basis of the promise to pay date follow the steps below:
Configure Company Settings
To be able to send automatic and manual follow ups to customer for payment on the basis of the promise to pay date, first you need to enable the configuration. Follow the steps below:
1. Go to Company Configurations under the Settings tab.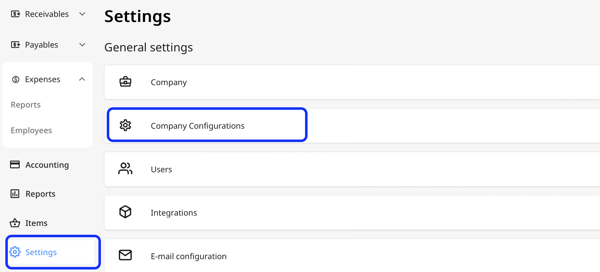
2. Go to the Accounts Receivable tab.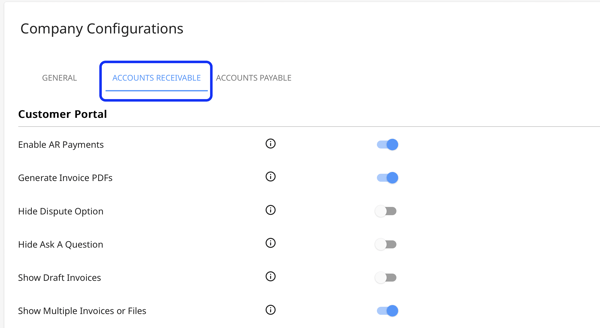
3. Scroll down to the Workflows section, you will be able to see an option called "Promise to Pay reminder". Click on the toggle to enable the promise to pay reminders.
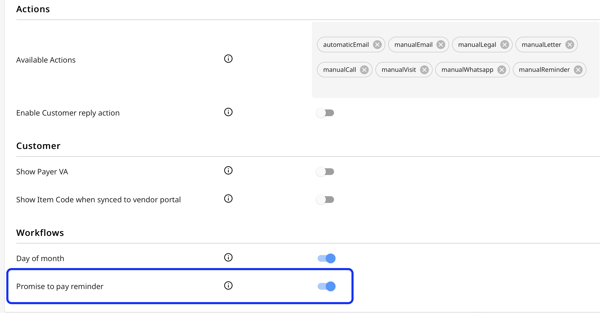
4. Click on the Save Configuration button to complete the process.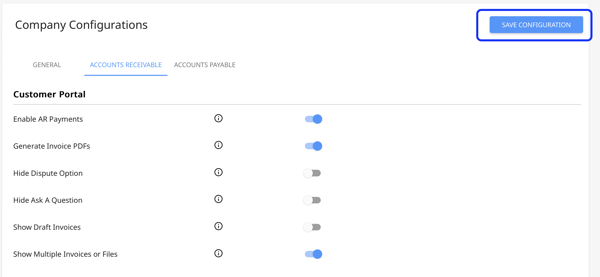
Create a Workflow for Promise to Pay
Now that the promise to pay reminder function is enabled you can set automatic and manual reminders based on promise to pay date. Follow the steps below to set up the workflow:
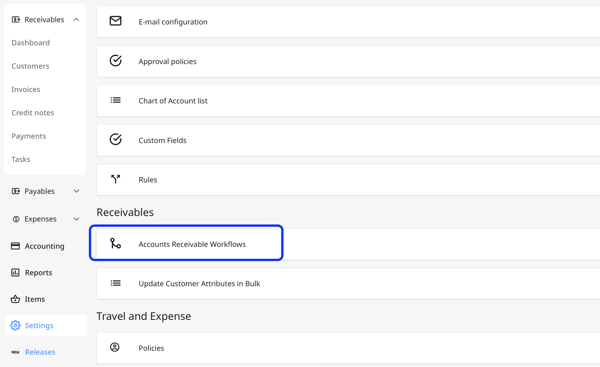
1. Go to Settings then head to Accounts Receivable Workflow.
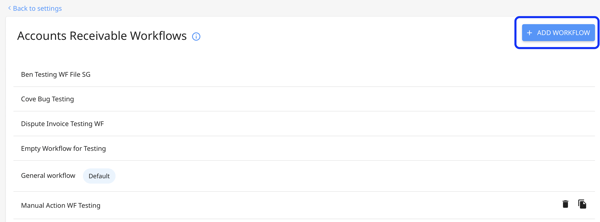
2. At the top right of the dashboard, you’ll see the blue Add Workflow button. Click on it.
3. A window will then popup, in which you’ll need to fill in the following information:
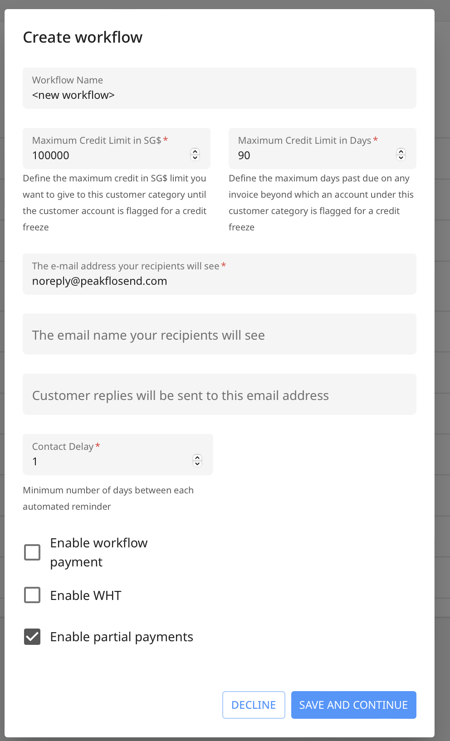
- Workflow name: Give a name to the workflow.
- Maximum credit limit in (currency): Define the maximum credit limit (in your currency) you’d like to set to this customer category until the account is flagged for a credit freeze
- Maximum credit limit in days: Define the maximum number of days for an invoice past due before the account is flagged for a credit freeze
- The email address your recipients will see
- Customer replies will be sent to this email address
- Contact delay: Set the minimum number of days between each automated reminder
If you'd like to set the contact delay to less than a day, contact us at support@peakflo.co!
Afterward, you can tick any of the boxes below to allow customers to make certain types of payments.
- Enable workflow payments: Allow customers to make payments through the customer portal
- Enable WHT: Allow customers to add withholding taxes to their payments
- Partial payments: Allow customers to adjust the amount of their payments
Once you’ll filled out all the fields, click Save and Continue.
To learn more about Workflows check out this article: How do I create, edit or remove a workflow?
Add Action for Reminders
Now that the promise to pay workflow is created you can set automatic and manual reminders based on promise to pay date. Follow the steps below to set up the actions:
1. Go to Settings then head to Accounts Receivable Workflow.
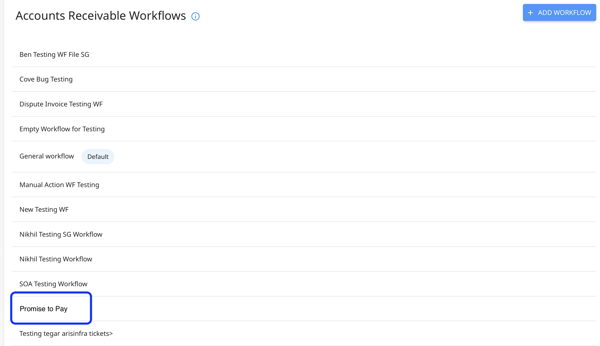
2. Click on the name of the workflow that you created for Promise to Pay.
3. Click on the Create Action button.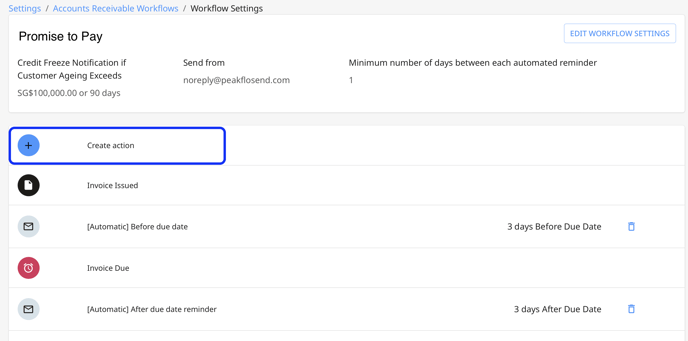
4. Once the action editor pops up, fill in the details as necessary.
To learn more about Actions check out this article: How can I add a new action in the workflow?
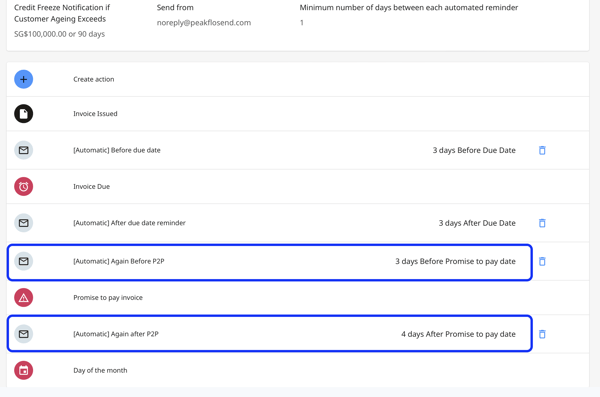
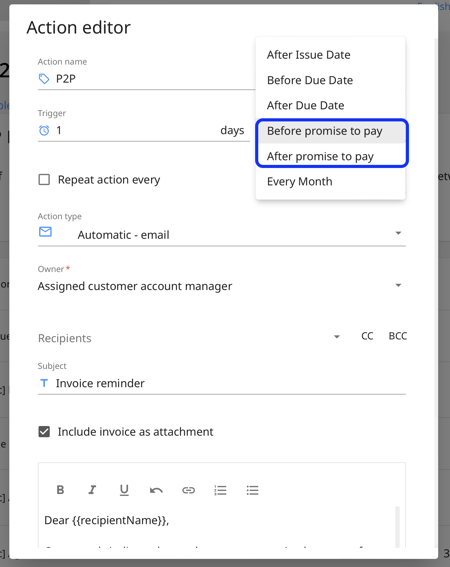
Under the Trigger drop down, you will able to see the options Before promise to pay and After promise to pay. Select the one you want.
5. Click on the Update Action button to save the action.
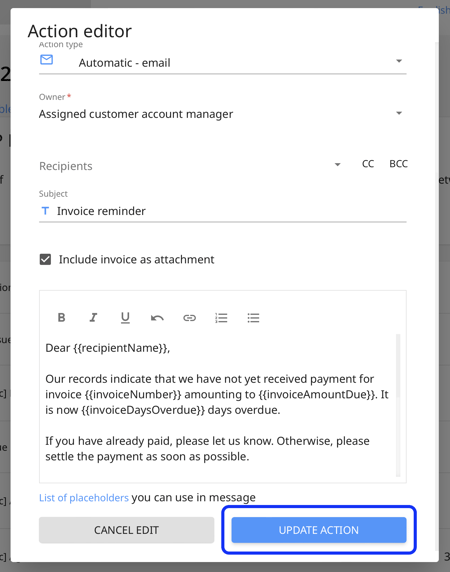
6. Once done, you will be able to see the action in the workflow.