Table of Content
- How to add vendors?
- How to edit vendor information?
- How to delete vendors?
- How to access vendor timeline?
How to add vendors?
1. Go to the "Vendors" tab under the "Payables" section.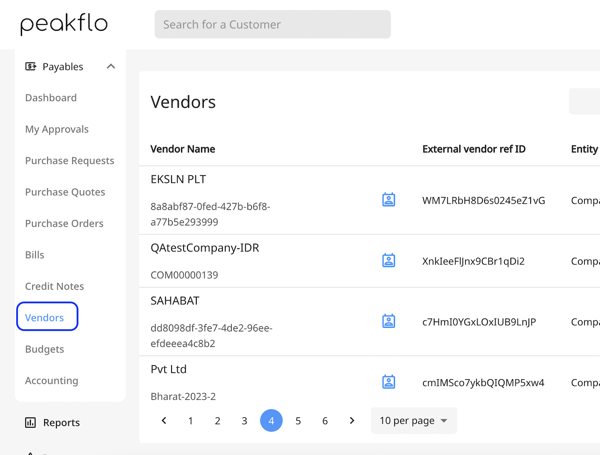
2. Click on "Add New".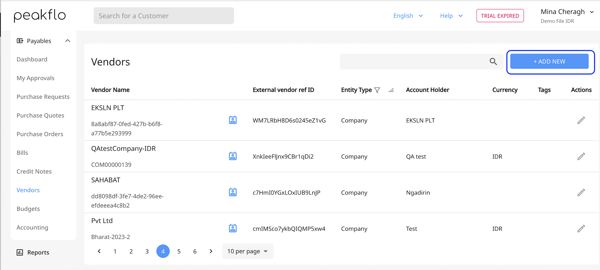
3. There are three tabs available for adding vendor details. On the
"Info" tab, you can add the general vendor details and also assign custom fields for your vendors. in case you want to learn how you can add custom fields on a vendor detail form, please visit this link. 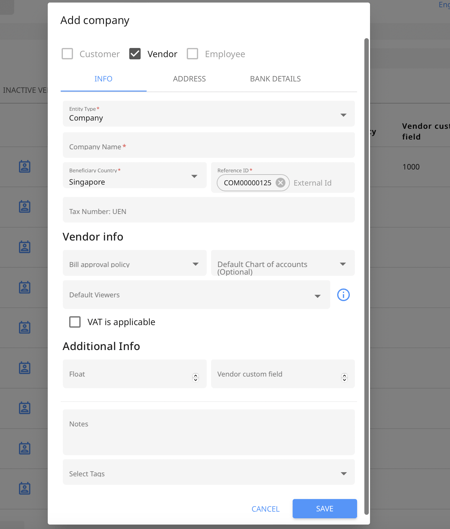
Entity Type: Select whether the entity is a company or an individual.
Company Name: Enter the company name.
Beneficiary Country: Enter the country where the vendor is located or registered.
Reference ID: This field auto-populates a reference or identification number for the vendor.
Tax Number: Enter the tax identification number of the vendor, if applicable. (Mandatory in Singapore to enter the UEN and India to enter GSTIN).
The tax number field can be customized based on country.
For India: GSTIN
For Indonesia: NPWP
For Singapore: UEN
Reach out to support@peakflo.co to customize the field as per your requirement.
Bill approval policy: Select the approval policy for the drop-down which you want to use for approving bills.
Default Chart of Accounts: You can also assign a "Default chart of accounts" for your vendors from the "Info" tab and at the time of bill creation, the default chart of accounts will get assigned to your bill based on the vendor name.
Default Viewers: The selected users will be able to see all the PQ/PO/Bills transactions created for this vendor
VAT Applicable: Click the check box to enable on vendor transactions.
Additional Field: Here you will see the custom fields you created, fill in the details according to the customer field description.
Check out What are custom fields and how to add them? and How to add custom fields on the vendor form?
4. On the "Address" tab, you'll be able to add the "billing details" and "Shipping details" of your vendor. 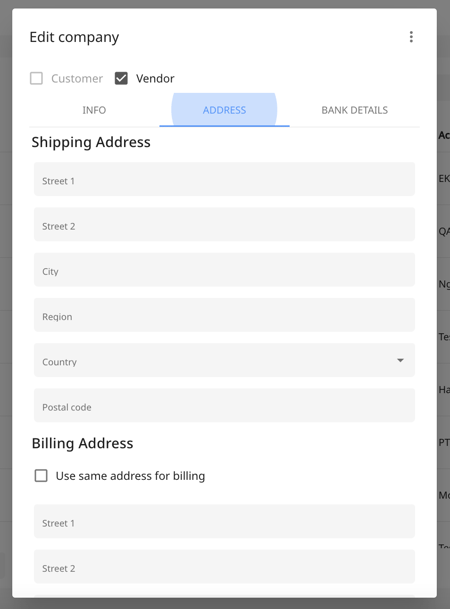
5. On the "Bank Details" tab, you can add one or more bank details belonging to your vendors.
* You can choose one bank account as the default bank account for your vendors by clicking on the "Default" toggle.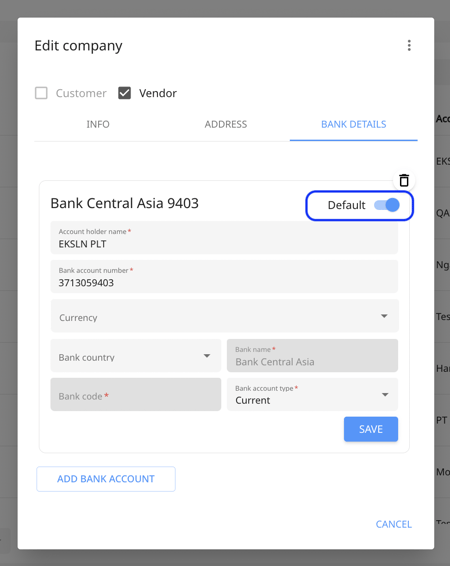
Who can edit or add bank account details in Peakflo?
Only users with the “Edit Bank Account” permission can add or edit bank account details. If you have this permission, you’ll see the option to add or edit the bank account when viewing a bill or vendor. If you don’t have this permission, the bank account field will be locked, and you won’t be able to make changes. To enable or disable this permission, contact support@peakflo.co
6. Double-check the vendor details and click on "Save".
How to edit vendor information?
To edit the vendor information, click on the pencil icon under the Actions column, make changes to the vendor information.
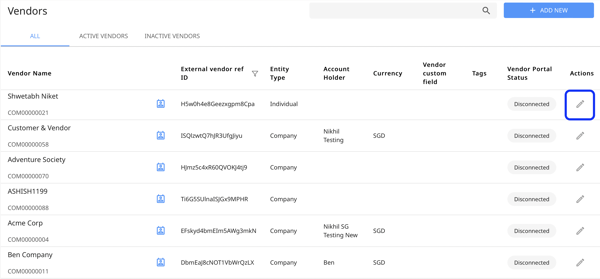
Click on Save to record the changes.
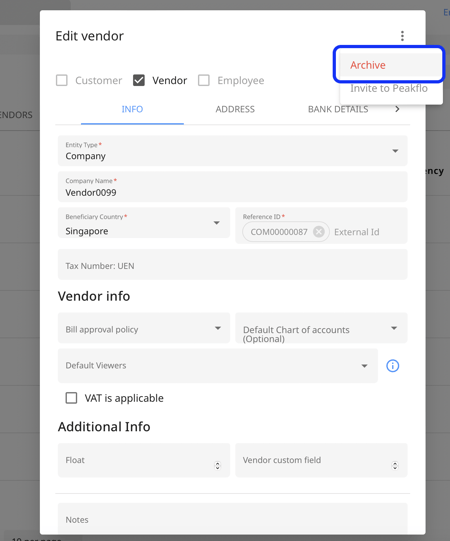
How to delete vendor?
1. To deactivate the vendor, click on the pencil icon under the Actions column.
2. Click on the three-dot at the right upper side

3. Select "Archive" to deactivate.
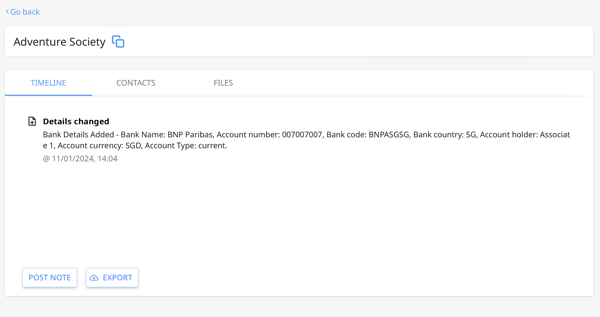
How to access vendor timeline?
To access the vendor timeline, click on the vendor row.
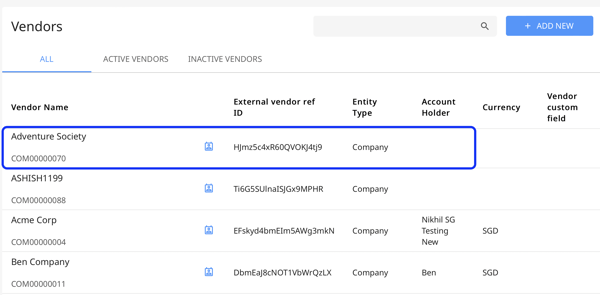
You will be able to view the Vendor Timeline.
FAQ
Why do you need to fill out vendor information?
Think of Peakflo as your vendor management platform. By making sure that your vendor contacts have the right details, you can cut the time for creating a purchase quote or a bill.
This is because Peakflo will help pre-fill the information in the purchase quote or the bill based on the vendor details you've added. Some examples include the workflow and the CoA assigned to the vendor as well as their payment information.