What are custom fields and how to add them?
If you wish to add custom fields to PRs, PQs, POs, bills, all their line items, and even vendor information, please check out this article.
What are custom fields? Custom fields are any additional information that you want to include in PRs, PQs, POs, bills, all their line items, and even vendor information. Some of the examples of popular custom fields would be department, business unit, country, etc.
To add custom fields, follow the steps below:
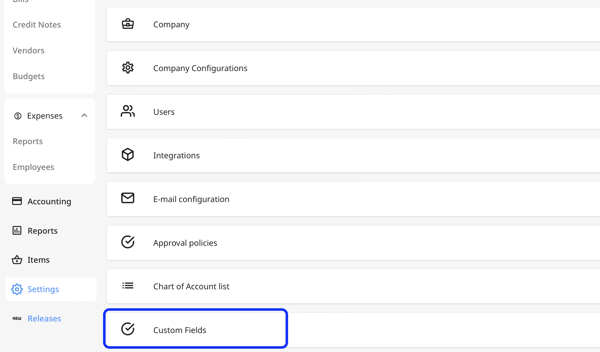
- Go to "Settings" ⚙️ and click on "Custom Fields" under general settings.
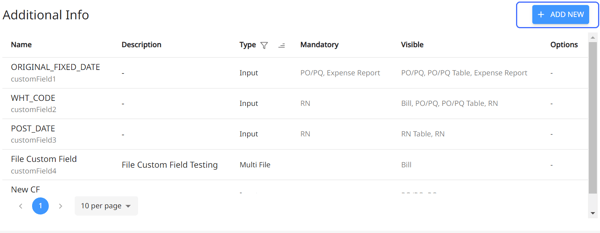
- Click the blue "Add New" button at the top right.
- Once a pop-up appears, fill out the following fields:
Name: The name of the custom field or the detail you'd like to add when managing PRs and PR line items, PQs and PQ line items, POs and PO line items, bills and bill line items, vendors, customers could be "beneficiary country", "requesting department", and such.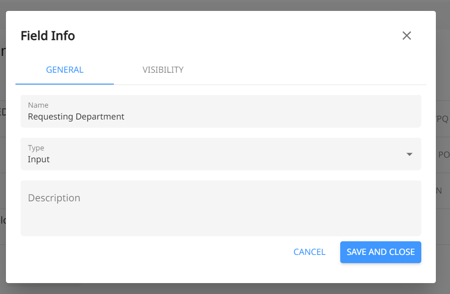
Type: Set how the data should be filled by your internal teams, such as in the form of input, number, list, multi-list, multi-file, or date.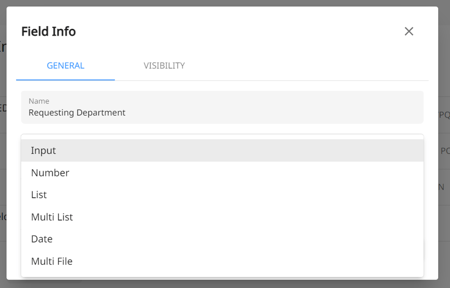
Here's a breakdown:
Input: custom field to add text.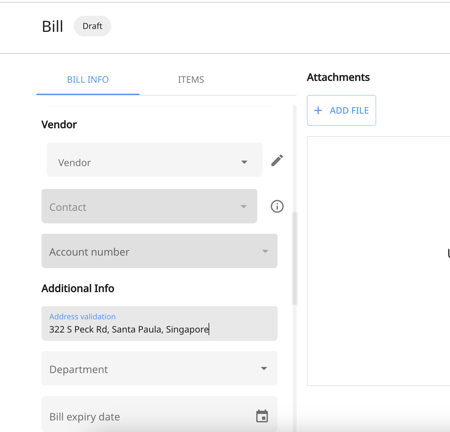
Number: Custom field to add numbers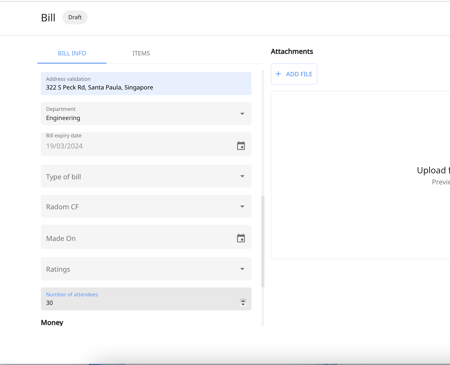
List: Custom field to choose only one item from a pre-defined list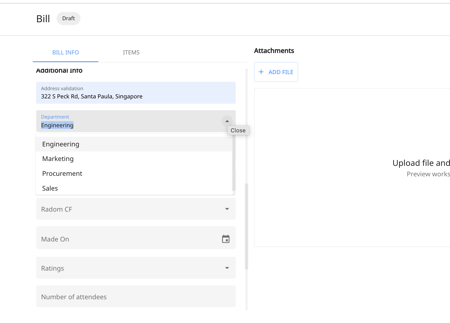
Multi-list: Custom field to choose more than one item from a pre-defined list.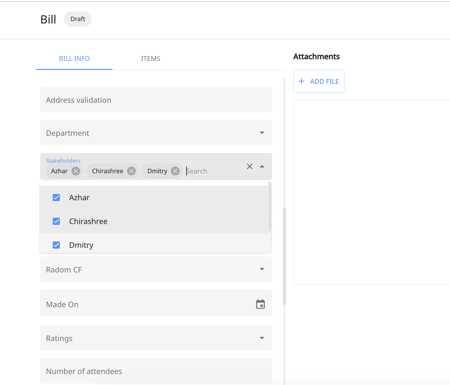
Date: Custom field to add a date from the calendar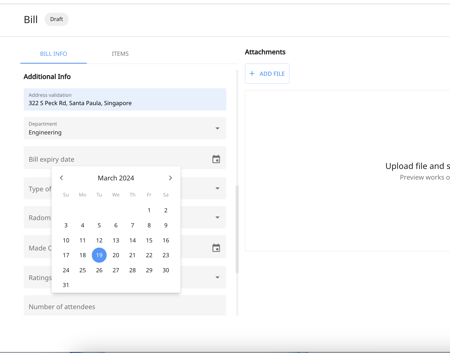
Multiple files: Custom field for adding one or more files with specific categorizations as attachments.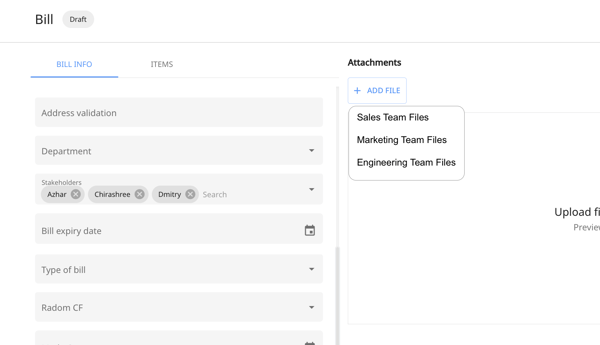
Single User: Allows you to assign one specific user to the custom field.

Multi-User: Allows you to assign multiple users to the custom field.

Description: Describe the purpose of the custom field to help your internal teams understand how to fill it out.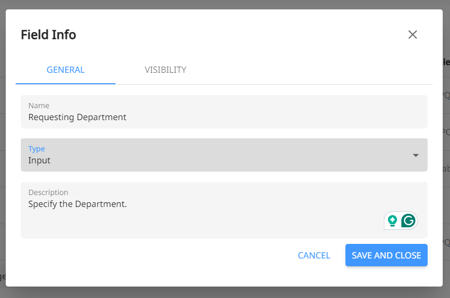
- Now, click on the Visibility tab and tick where you'd like the custom fields to appear with the following configurations:
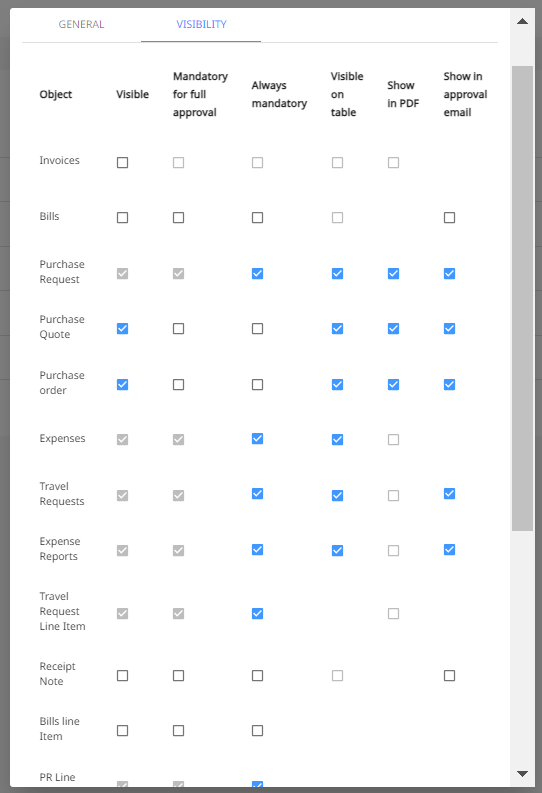
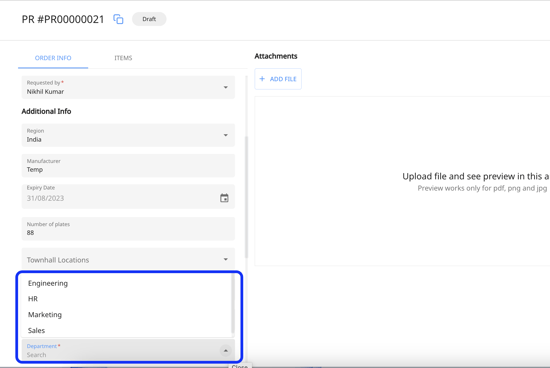
- Visible: visible as a field in the edit form
- Mandatory on approval: mandatory to fill out for full approval
- Always mandatory: mandatory to fill in from the time of creation
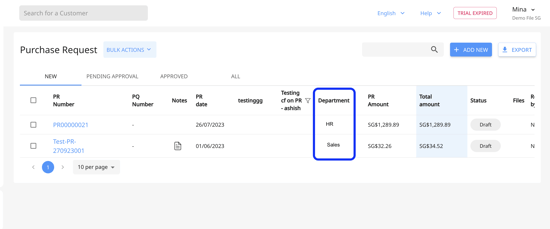
- Visible on the table: only visible in the table view
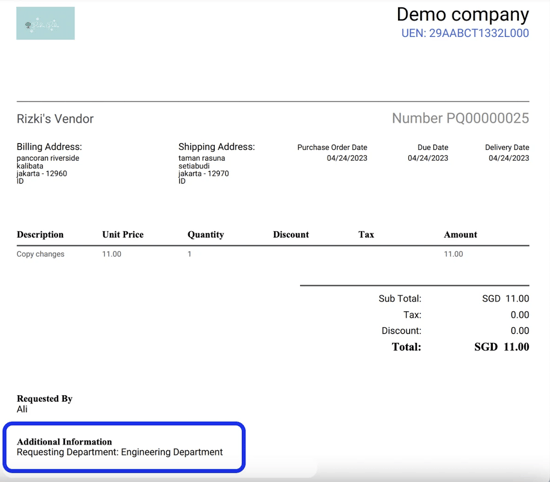
- Show in PDF: Show the custom fields in the PDF export.
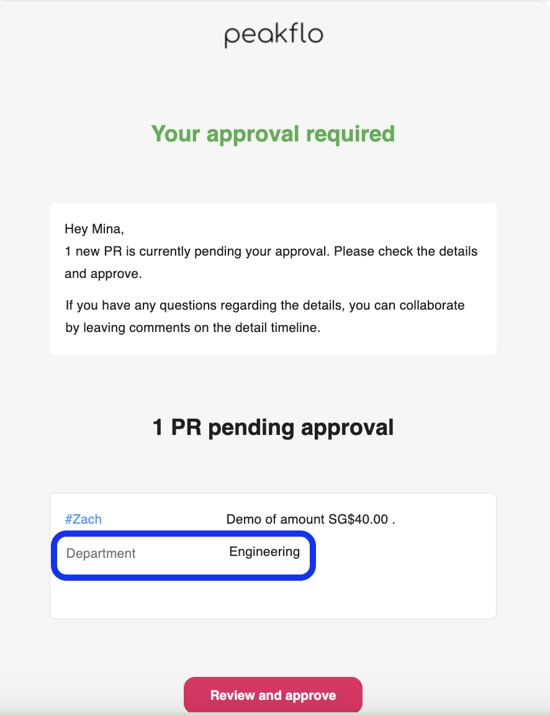
- Show in Approval email: Show the custom fields in the approval emails sent to approvers.
📘Read More
Want to control access to bills based on custom fields for a more focused view? Check out how you can use rules to accomplish this.
5. Click on Save and Close to save the custom field.
When the Custom Field is synced from your accounting software/ ERP, then you have the option to deactivate and activate the custom values.
To do so, click on the custom field you want to deactivate the values for, and click on the toggle beside each custom field value. Toggle to the right to activate and toggle to the left to deactivate.

FAQ
Do custom fields of type “Number” support decimals?
Yes, number-type custom fields support decimal values. You can enter both whole numbers and numbers with decimals.