1. Go to the "Vendors" tab under the "Payables" section.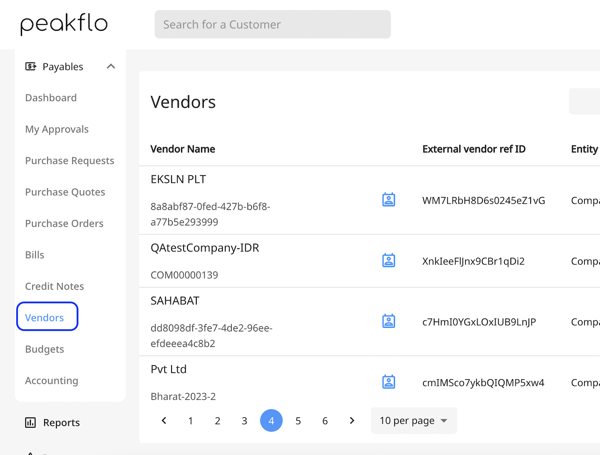
2. From the right side of the vendor name that you want to edit, click on the pencil icon under the "Actions" column.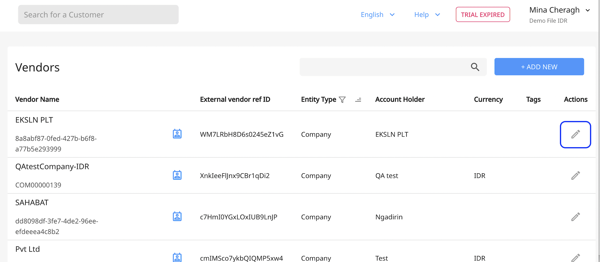
3. There are three tabs available for editing vendor details. On the "Info" tab, you can edit the general vendor details and also assign custom fields for your vendors. in case you want to learn how you can add custom fields on a vendor detail form, please visit this link.
* You can also assign a "Default chart of accounts" for your vendors from the "Info" tab and at the time of bill creation, the default chart of accounts will get assigned to your bill based on the vendor name. 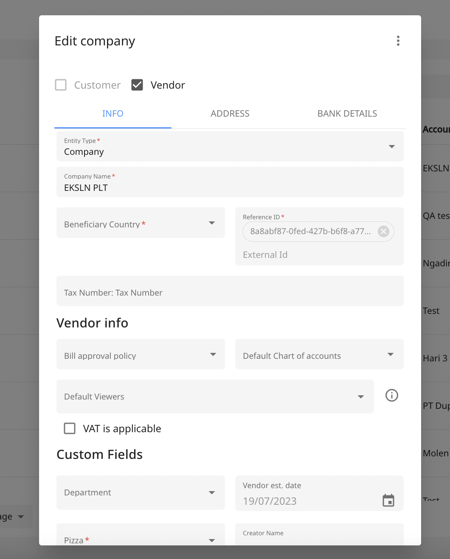
4. On the "Address" tab, you'll be able to edit the "billing details" and "Shipping details" of your vendor. 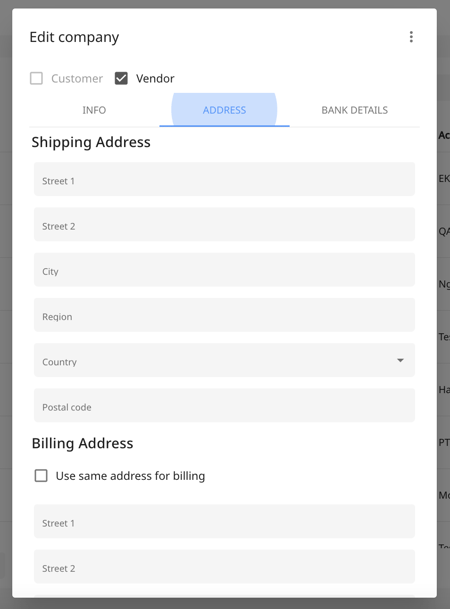
5. On the "Bank Details" tab, you can edit one or more bank details belonging to your vendors.
* You can choose one bank account as the default bank account for your vendors by clicking on the "Default" toggle.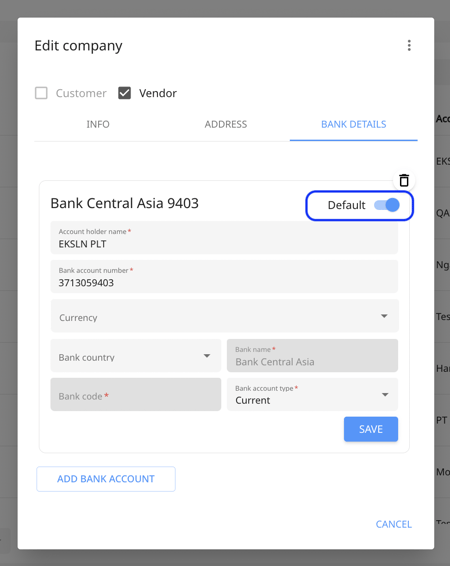
6. Double-check the vendor details and click on "Save".
FAQ
Who can edit or add bank account details in Peakflo?
Only users with the “Edit Bank Account” permission can add or edit bank account details. If you have this permission, you’ll see the option to add or edit the bank account when viewing a bill or vendor. If you don’t have this permission, the bank account field will be locked, and you won’t be able to make changes. To enable or disable this permission, contact support@peakflo.co