With Peakflo, you can add a credit note and link it to an invoice. This way, document any changes to the invoice and have more control over who creates and approves the credit note!
- First go to the "Credit Notes" tab under "Receivables" from the side bar. Here you will se different tabs:
-
New: This tab displays all newly created credit notes that have not yet been submitted for approval.
-
Pending Approval: Here, you will find credit notes that have been submitted but are awaiting approval from designated approvers.
-
Processing: This section contains credit notes that are currently being reviewed or have been sent for further processing
-
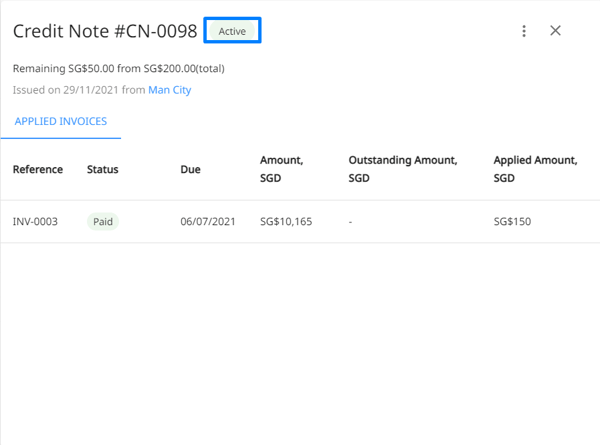
Active: This tab provides an overview of all credit notes that still have a remaining credit balance (remaining credit > 0), allowing you to easily track available funds.
-
Applied: In this section, you can view all credit notes that have been successfully applied to invoices (remaining credit = 0).
-
All: This tab provides a comprehensive view of every credit note created, regardless of their status.

-
- Click on the "Add New" button at the top right corner to add a new credit note.

3. A popup will appear, in which you need to fill out the following information:

-
-
Customers’ names for whom the Credit Note is being created.
-
-
-
The credit note Amount. Peakflo will pre-fill this (find out more below on how this works), or you can also fill it out and edit it later if needed.
- Assign an Approval Policy to the credit note. Please refer to this link to check how you can create an approval policy for credit notes.
-
-
-
The Reference number or the identifier for this credit note. The credit note reference is a unique number for each invoice.
-
The Issue Date
- Currency of the credit note
-
Notes (if any)
-
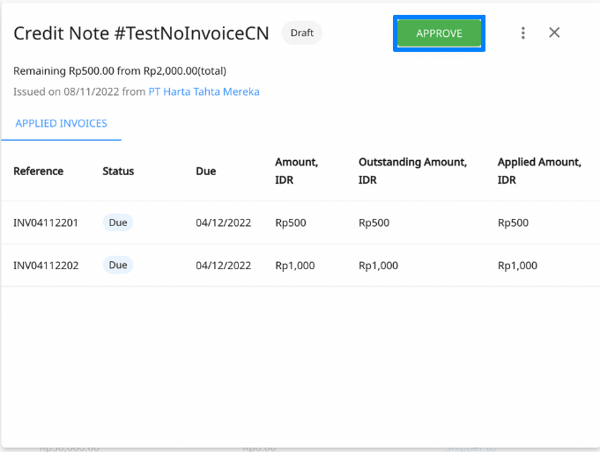
4. Once you've selected a Customer, you'll see a list of invoices Due and overdue that they owe.
You can settle the credit note amount, fully or partially, against any of the due or overdue invoices.
To do that:
-
If you'd like to apply a specific amount to the Credit Notes, please input the invoice amount that will be settled in the Applied Amount.

-
If the Credit Note amount is applied to the outstanding amount for one or more invoices, click on the arrow icon. Doing so will link the Outstanding Amount with the Applied Amount.

5. The Amount will follow the total Applied Amount that you've set to the Credit Note(s). You can edit the total Amount. Let's say, you'd like to set a higher Amount so that the customer can apply the remaining Credit Notes to future invoices.

6. Click save and close.
Congratulations, you've added a credit note! Onto the next step!
How do I approve a credit note?
Every credit note needs to be approved before they're applied to the invoices.
Here's the step-by-step guide:
-
Now go to the "Pending Approvals" tab. Select the credit note.

Else, you can go to "Approvals" from the side menu and open "Credit Notes" to view and perform action on the payments pending your approval.

To learn more about "Approvals", check out: How can I perform Approvals in Peakflo?
2. Click the "Approve" button at the top.
3. It will immediately change the status of the Credit Note to Active (if remaining credit > 0) or Applied (if remaining credit = 0).
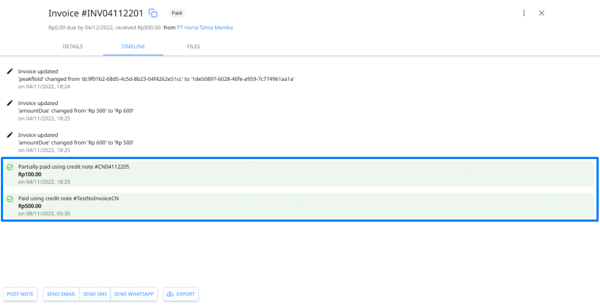
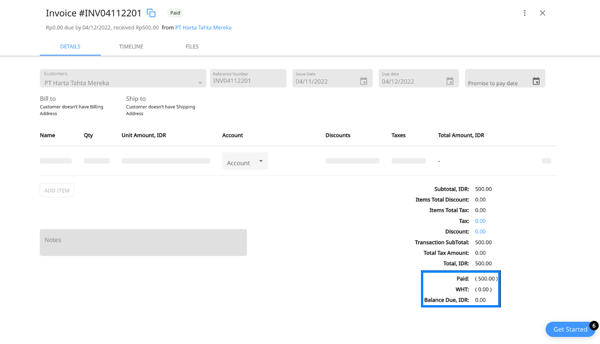
4. Once the Credit Note is issued against the invoice, the balance of the invoice will be zero.
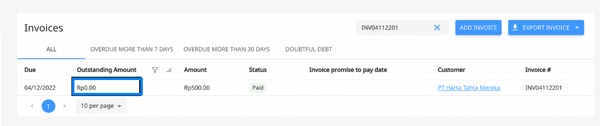
Aside from the table view, you can also check the Outstanding Amount when you click on the invoice to see the details.
5. You can also track any changes regarding the credit note in the timeline.