There are two steps to add employees to Peakflo.
Add Employees
1. Go to the Employees tab under Expenses.
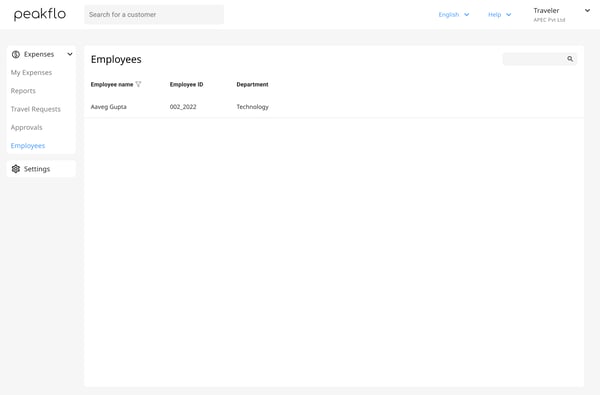
2. Click on Add New, and a new pop-up will appear.
-4.png?width=450&height=702&name=image%20(1)-4.png) 3. Fill in the details.
3. Fill in the details.
Here is a breakdown:
- First Name: The first name of the employee
- Last Name: The first name of the employee
- Beneficiary Country: The country in which the employee is eligible to receive benefits or compensation.
- Employee ID: The identity number associated with the employee
Employee ID will either be synced from your ERP/ accounting software or can be imported from your existing database.
- Tax Number: The tax number associated with the employee.
The tax number field can be customized based on country.
For India: GSTIN
For Indonesia: NPWP
For Singapore: UEN
Please reach out to support@peakflo.co to customize the field according to your requirements.
- Approval Policy: Allows you to add the specific approval policy for the employee.
If a default approval policy is assigned for travel requests and expense reports, then the default policy will have precedence over the employee approval policy when the employee submits a travel request or expense report
- Direct Manager: The manager to whom the employee reports to
The information of the Direct Manager will be synced from the ERP or accounting software. Editing or adding a Direct Manager of the employee is disabled for everyone.
The employee modal will display the Direct Manager even if that manager is associated with a different tenant.
- Travel and Expense Policy: Allows you to add policies for travel and expenses for the employee.
The Travel and Expense Policy serves a different purpose from the Approval Policy. It outlines the specific values your employees can utilize in creating travel requests, expenses, and expense reports and the rates they are entitled to. This policy is established by Policy admins to guide employees on expense-related matters.
Learn how admins can create travel and expense policies.- Additional Info: This section includes all the custom fields such as department, location, country, etc. of the employee. You can learn how you can add custom fields for employees here.
4. You can also add “Notes” for the vendors and select "Tags". Tags are for better classification of your employees and reporting. To set specific tags for your employees, please reach out to support@peakflo.co
5. Once the information is filled out, click Save to complete the process.
Edit employee details
1. Go to the Employees tab under Expenses.
2. Click on the employee for whom you want to edit details, and a new pop-up will appear.
3. Add new details or modify the existing details then hit Save.
Add Users
1. Go to the Users tab in Settings.
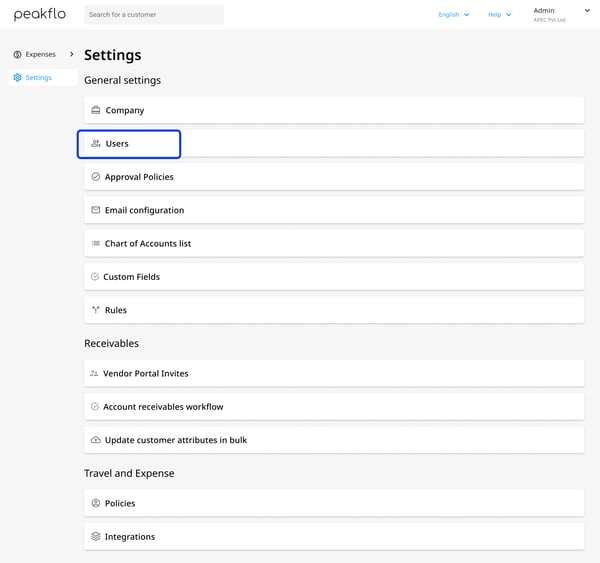
2. Click on the Add New button.

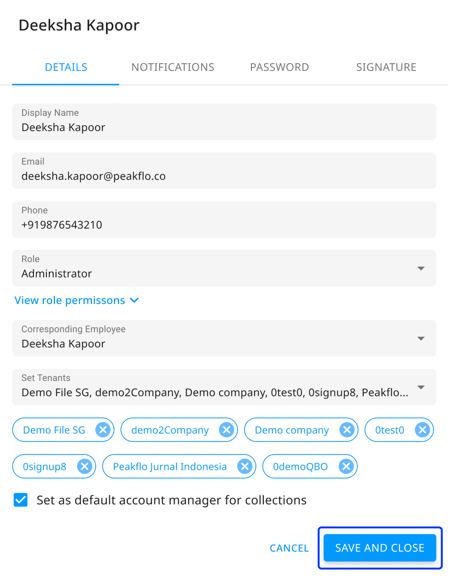
3. A new pop-up will appear. Fill in the details and hit the Save and Close button to complete the process.
To learn more about the Roles and Permissions for Travel and Expense Management, check out this document.
Each new user has to be added manually.