Please keep in mind that only with the "Admin" role, it's possible to define the policies for Travel and Expense Management.
Table of contents:
- Create Policy Info
- Expense Category
- Mileage (Fuel Reimbursement)
- Per Diem Expense Policy
- How to Void Per Diem Rates & Hours under Policy?
Create Policy Info
1. Go to "Settings" and click on "Policies" under the "Travel & Expense" section.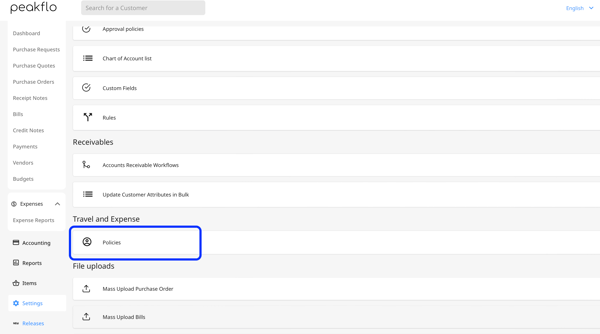
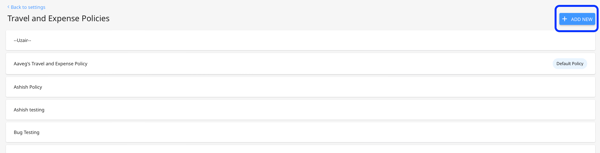
2. Click on "Add new" on the top right side of the screen to add a new policy.
3. Under the "Policy Info", fill out the policy details according to the descriptions below:
- Policy name: The name of your Travel & Expense policy.
- Description: The description or additional information regarding the policy for more clarity.
- Default Policy: Activate the toggle to designate this policy as the default for all employees and for expense approval policy checks.
- Policy Admin: You can add one or more policy admins to each policy info. Policy Admins will be able to add or edit information in the policy.
Important Note:
- When an admin marks a policy as default and saves it, the system will automatically remove the default status from any other policy and set the new one as default.
- During a sync with your accounting system, if an employee is being pulled, the system will assign the default policy to that employee and keep it the same in both systems.
- Unit of Distance: For travel and expense categories that require information regarding the unit of distance such as fuel reimbursement, you can add the unit of distance here.
- Surcharge on currency conversion: Limit the surcharge of currency conversion rate for money exchange or credit card usage in different countries to make sure the surcharge of exchange rate from the local currency is not violating the company policies. If the limit is exceeded, the employee will be informed immediately.
- Submission validity: Number of days that the employee is allowed to submit expense reports after the expense date.

4. The next step is to fill out the expense categories.
Expense Categories
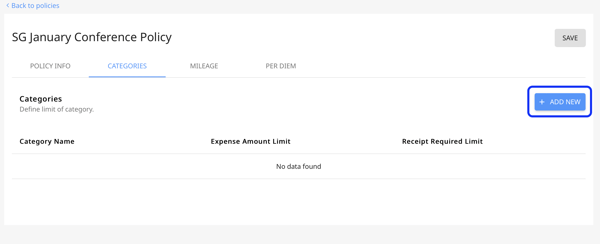
5. In the "Categories" section, you can either add and define categories in Peakflo or sync them from your accounting software/ERP into Peakflo to provide a structured way to record and track where money is being spent in your company for an easier expense management experience. -2.png?width=600&height=396&name=image%20(9)-2.png)
6. In case you want to add a new category, click on the "Add New" button. A new pop up will appear.
In case you want to edit a certain category, they can simply click on the category. The same category window will be shown and the details of the category can be filled based on the descriptions below:
Category Name: The name of your new category cannot be edited since it's being synced from your accounting software/ERP.
Peakflo can fetch 100 categories from your accounting software/ERP.

Expense Amount Limit: The amount that each employee is allowed to spend per each category of expense.
Mandatory Receipt Attachment Amount: If the amount of the expense report is more than the Mandatory Receipt Attachment Amount, then the employee will become obliged to attach a receipt to the expense report
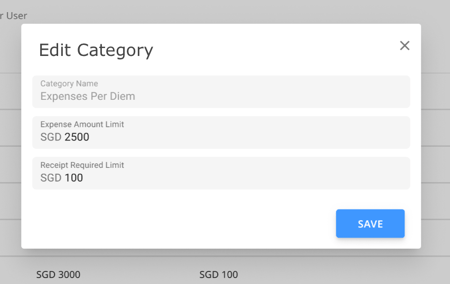
Once done, click on "Save" and the new expense category will appear on the category list.
Mileage (Fuel Reimbursement)
If your employees are taking their car to client meetings or other projects for work, by using the Mileage Reimbursement policy, they can get reimbursed for the fuel they've used.
7. The fuel reimbursements can be assigned to a specific expense category using the "Default category for Mileage" drop-down at the top of the page.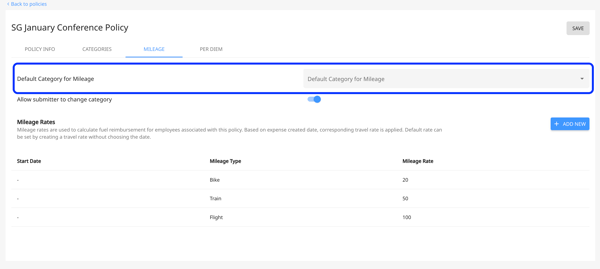
8. You can enable/disable the ability to edit the category of the mileage/fuel reimbursement by using the toggle for "Allow submitter to change category".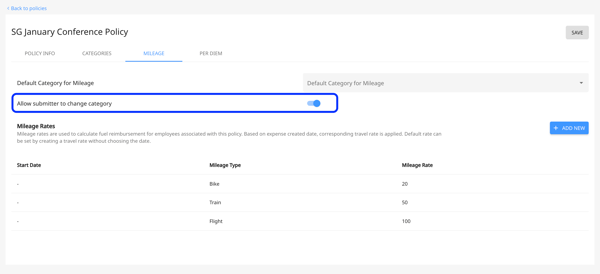
Once this toggle is activated, during the expense submission for mileage, the employee will have the ability to edit the category. A list of categories will be shown on the drop-down menu in the mileage expense and the employee will be able to choose from the list of available categories.
The mileage expense submission with the enabled button:
If this toggle is disabled, the employee will no longer be able to change the category.
The mileage expense submission with the disabled button: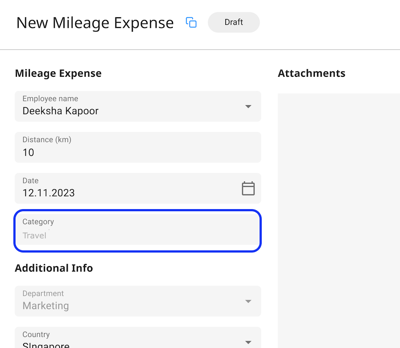
9. You can add a new mileage/fuel reimbursement using the "Add New" button.
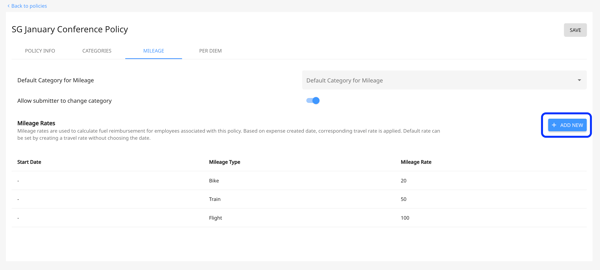
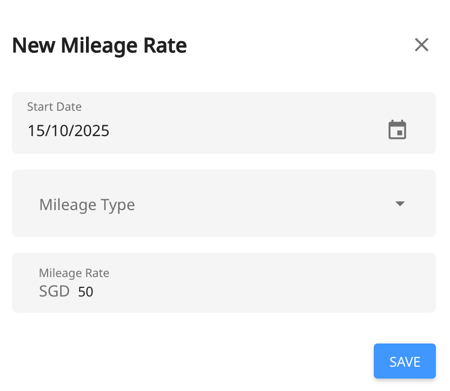
10. From the pop-up window, you can add the date and the rate of fuel price per distance unit and then click on "Save" to record the changes.
- Start date: The date of the fuel reimbursement
- Mileage Type: Select the type of mileage
- Mileage Rate: Fuel price per distance unit
Note:
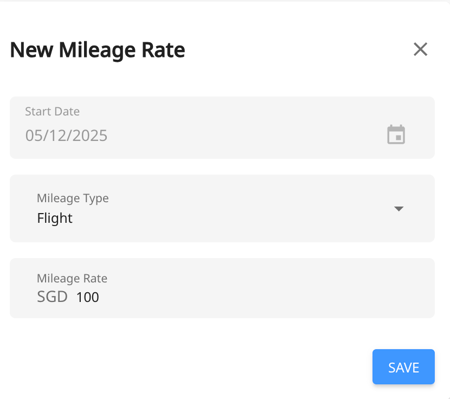
- The mileage rate can either be based on the start date or the mileage type. When the Mileage Type is selected, the Start Date field is disabled and excluded from mileage rate calculations.
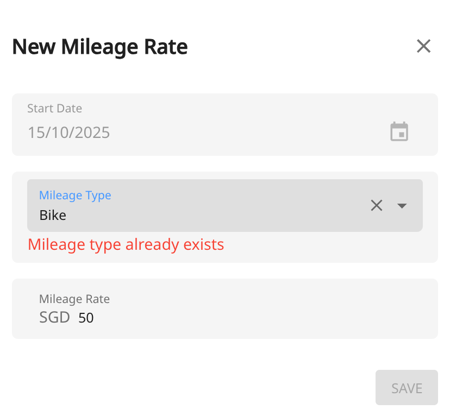
- If a mileage rate already exists for a selected mileage type, you will not be able to create another rate with the same type.
Per Diem Expense Policy
You may need to add more details and specifications to your "Per Diem" or per-day expense policies. For example, if your employees are attending a half-day event, they will only need half of the per diem expense that was assigned to them.
Another example would be that the per diem expense may differ from one country or city to another depending on the activities or general expenses of the location.
So your admins should have the flexibility to add these conditions to the per diem expenses and have more control over the expenses. Additionally, the employees will also manage their expenses without any trouble. .png?width=600&height=361&name=image%20(25).png)
11. The der diem expense can be assigned to a specific expense category using the "Default category for Per Diem" drop-down at the top of the page.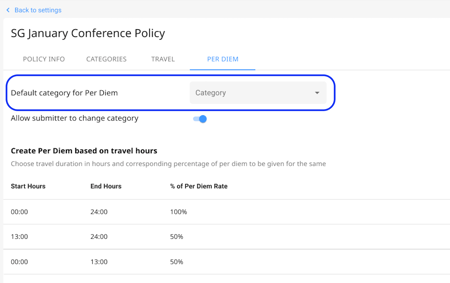 12. You can enable/disable the ability to edit the category of Per Diem expense policy by using the toggle for "Allow submitter to change category".
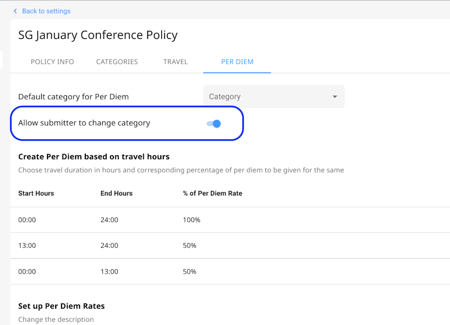
Once this toggle is activated, during the Per Diem expense submission, the employee will have the ability to edit the category. A list of categories will be shown on the drop-down menu in the Per Diem expense and the employee will be able to choose from the list of available categories.
The Per Diem expense submission with the enabled button: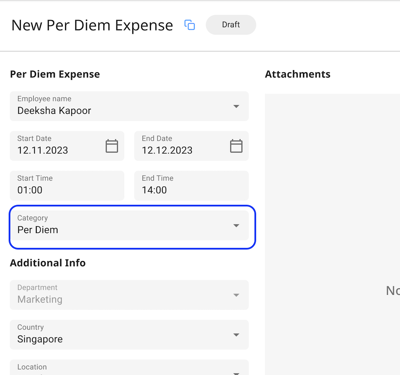
If this toggle is disabled, the employee will no longer be able to change the category.
The Per Diem expense submission with the disabled button: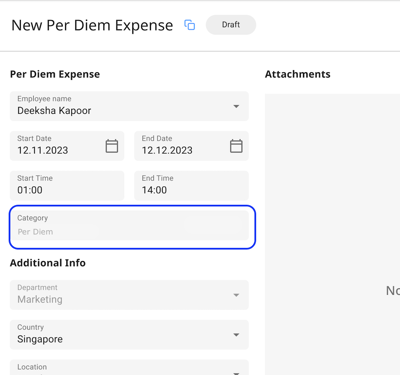
13. To define how much employees can spend for the per diem expenses, click on the "Add New" button. 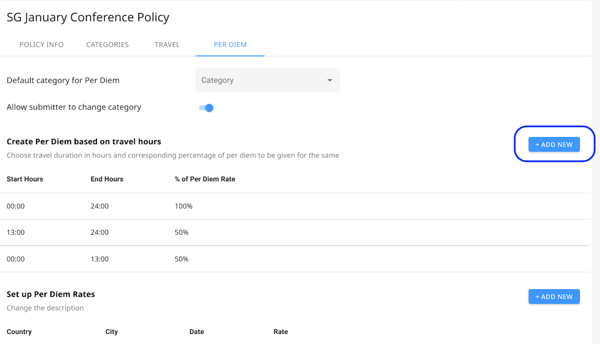
14. Fill out the details of the opened window based on the description below:
Start Hour: The time that the employee can start using the Per Diem expense
End Hour: The time that the per diem expense can no longer be used by the employee
Percentage of Per Diem rate: The percentage of the total amount of the per diem expense that the employee can utilize.
E.g. if the start hour is 8 AM, the end hour is 2 PM, the total amount is $100 and the percentage of the per diem rate is 50%, then the employee can only use $50 within the defined time frame.
After all the information has been added, click on "Save".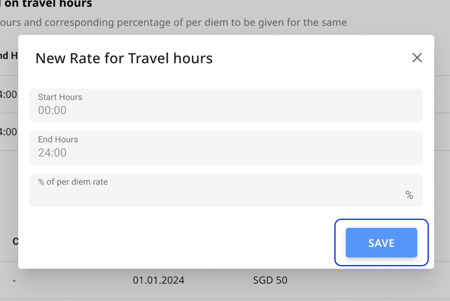
15. To add a default rate for traveling, click on the "Add New" button and choose "Default Rate".
Based on the descriptions below, fill out the fields.
Display name: Add a name for the new default rate.
Date: Add the date that you wish the default rate to be usable.
Rate: Add a default rate for the per diem travel.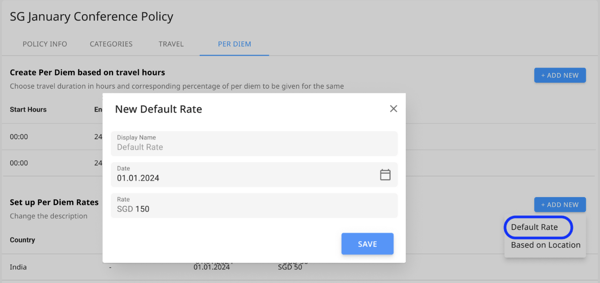
16. After adding all the information, click on "Save".
17. To add a rate for how much employees can spend based on the location(s), click on the "Add New" button and choose "Location-based rate". Based on the descriptions below, fill out the fields.
Country: Add the country that the employee is traveling to.
City (Optional): Add the city name that the employee is traveling to
Date: The date that the Per Diem expense can be used.
Rate: The Per Diem expense amount that has been allocated to the employee. 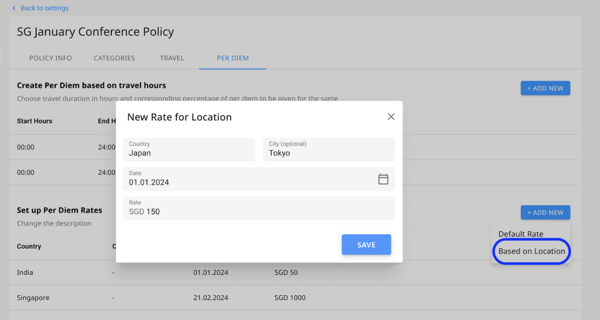
18. After all the information is added, click on "Save".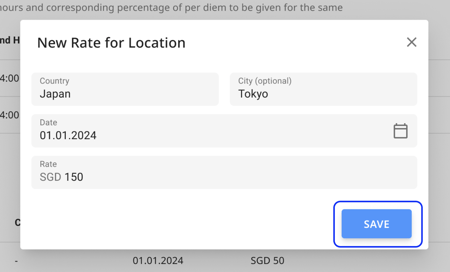
To understand in detail how the per diem rate will work, check out the article: How do per diem rates work in Peakflo?
How to Void Per Diem Rates & Hours under Policy?
1. Go to "Settings" and click on "Policies" under the "Travel & Expense" section.
2. Click on the policy you want to edit.

3. Go to the "Per Diem" tab.

4. To void/delete per diem hours, click on a option under "Create Per Diem based on travel hours".
A pop-up will appear. Click "Delete" to void the per diem hours.

5. To void/delete per diem rates, click on a option under "Set up Per Diem Rates".

A pop-up will appear. Click "Delete" to void the per diem rate.
