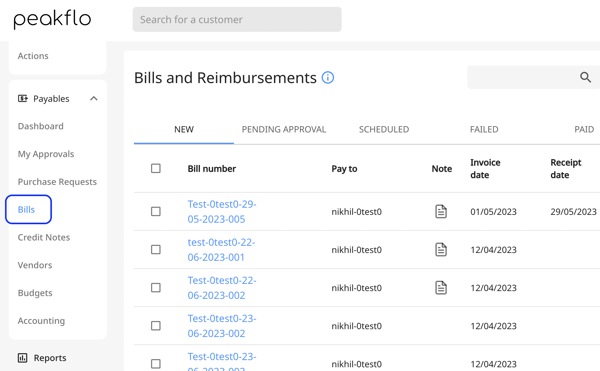
1. Click on the "Bills" tab under the "Payables" section. The bills that were captured via OCR, are saved as a new bill in the draft state.
2. Open the bill and check the vendor details.
Scenario 1: If the vendor already exists in Peakflo, the box under the vendor details will find an exact match for the vendor. If the vendor has a bank account or a default bank account is set for the vendor, Peakflo will automatically fill in the vendor bank account details when the bill is created.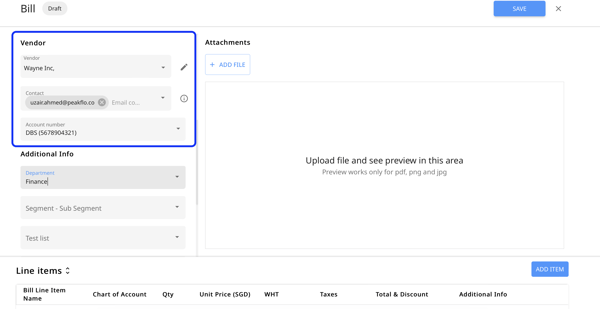
Scenario 2: In case the vendor exists but the names are not a perfect match, you can click on the edit icon to link the correct vendor. Once the vendor is selected, the contact and bank account details will be filled in automatically.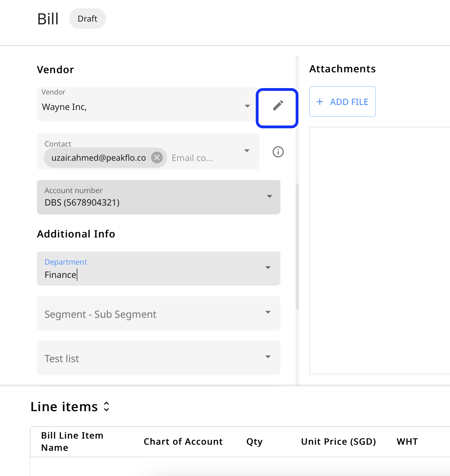
Scenario 3: In case two vendors have similar names, then you can differentiate between them by checking the vendor's tax ID, which appears next to the vendor ID.

Scenario 4: In case the vendor does not exist in Peakflo, you can create a new vendor right from the bill edit form by clicking the "Create New Vendor" option.
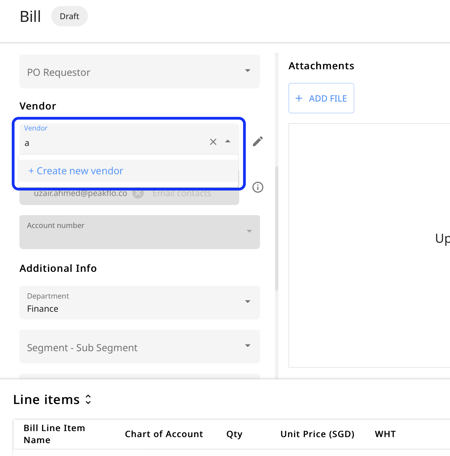
Add the vendor Info along with the Address and Bank Details, then click on "Save".
4. Peakflo also checks if the vendor contact details, such as email address exist or not. 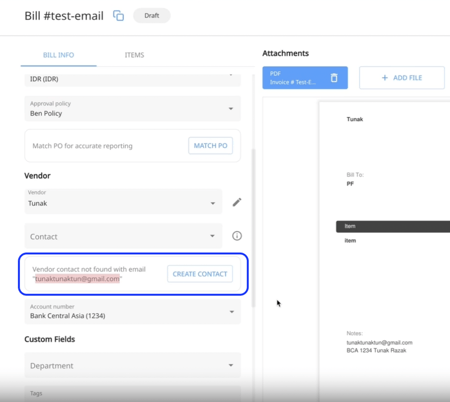
In case the email of the vendor is also not found, you can add the email address and other contact information directly from the bill edit form by clicking the "Create New Contact" option.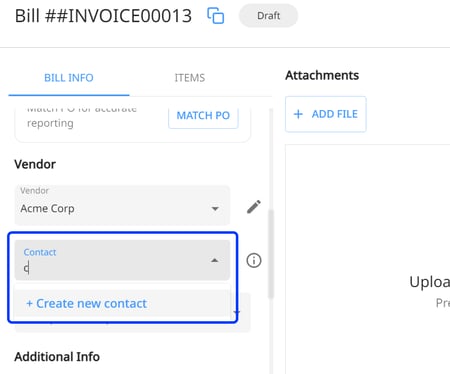
Fill in all the contact information, address, and bank details, then click on "Save".

6. Peakflo also checks if the vendor bank account details exist or not.

Scenario 1: You can find an existing bank account to match by clicking on the "Find Existing" option.

Scenario 2: If the bank account does not exist in Peakflo, click on the "Add Bank Account" option. Then fill in all the bank details and hit "Save".

7. Once all the vendor information is added, the vendor details will appear like the image below: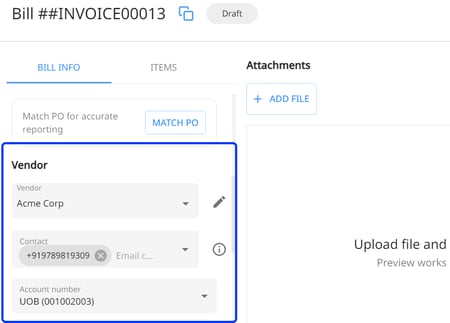
8. Hit "Save" in the upper-right corner to update the bill.
FAQ
Who can edit or add bank account details in Peakflo?
Only users with the “Edit Bank Account” permission can add or edit bank account details. If you have this permission, you’ll see the option to add or edit the bank account when viewing a bill or vendor. If you don’t have this permission, the bank account field will be locked, and you won’t be able to make changes. To enable or disable this permission, contact support@peakflo.co
Does Peakflo match vendors based on the sender’s email address?
Yes, among other matching criteria, Peakflo also takes into account the sender’s email address while matching vendors. This helps the system automatically identify which vendor an invoice belongs to. However, if the email is sent by a Peakflo user within the same tenant, Peakflo will not match the vendor based on that email. This prevents mistakes where a user’s own email gets incorrectly assigned to a vendor.