How to mass upload credit notes?
Instead of entering your data one by one, now you can mass upload credit notes to save time and streamline processing.
Start by downloading a copy of - Mass Upload Credit Note template
Once you've downloaded the template, start filling all the columns with the credit note details that you want to be uploaded.
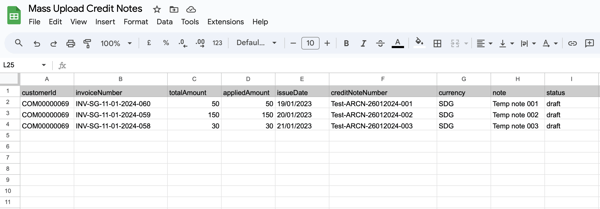
Once the mass upload file is ready, follow the below steps:
1. Go to "Settings" and under the "File Upload" section, click on "Upload Mass Credit Note".
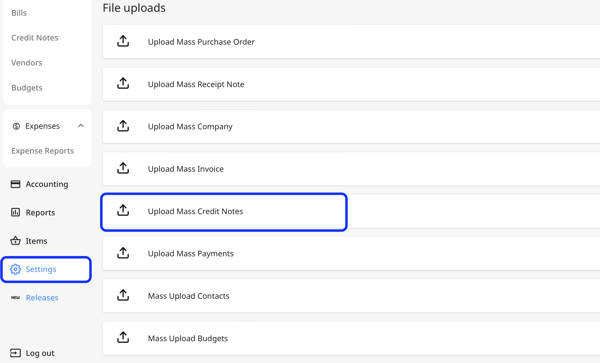
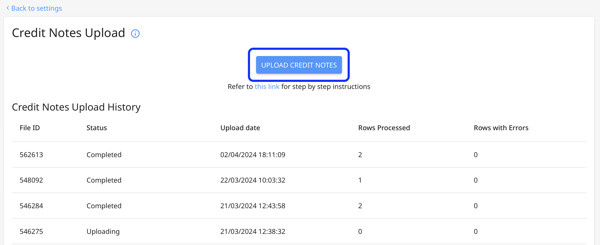
2. Click on the "Upload Credit Notes" button.
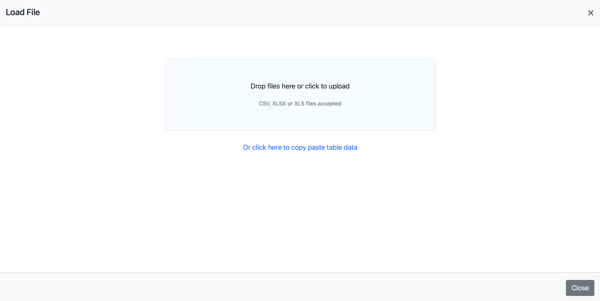
3. Upload your file in CSV, XLSX, or XLS format.
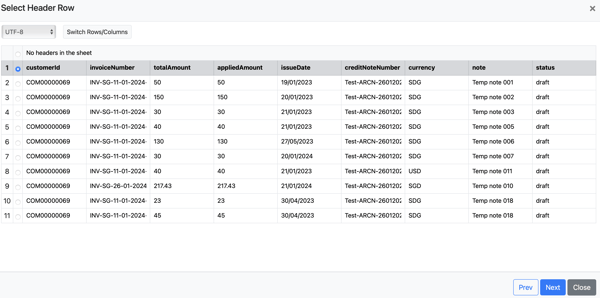
4. Select the Header Row and click on "Next".
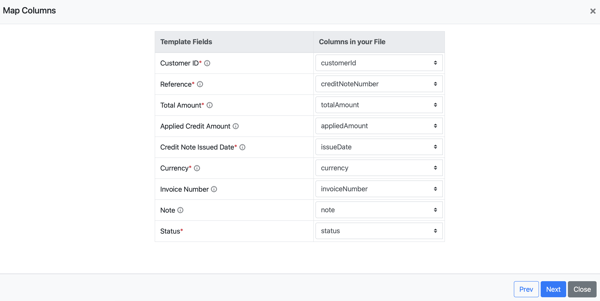
5. Map the Columns in your file with the Template Fields. Once done, click on "Next".
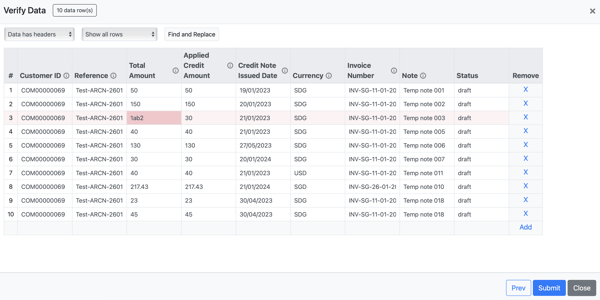
6. Then verify your data. The system-identified anomalies will be marked in dark red.
7. Recheck and edit the data, then click "Submit".
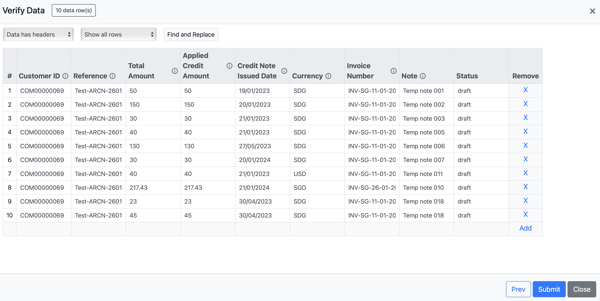
8. Peakflo will process and upload the credit note details in a few minutes. You be able to see it in the upload history.
