To add the PO requester to the first level of approval policy, follow the below-mentioned steps:
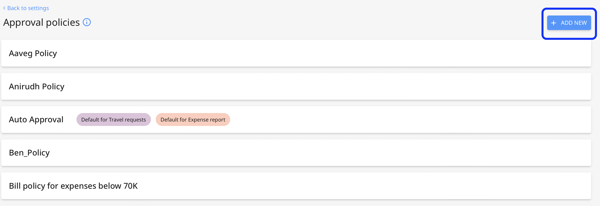
1. In your navigation menu, click 'Settings' from the left navigation menu and go to 'Approval policies'. 
2. Click on the Add New button.
3. The approval policy box will appear. Add the name of the policy and tick the boxes for "Bills". Then fill in the amount, bracket, and logic details.
For a detailed walkthrough of accounts payable approval policies refer to "How to set up approval policies for Accounts Payable?"
4. To add the PO requestor as an approver select the "PO Requester" option from the approval level drop-down menu. You can also add "PO Requester's direct manager" as an approver too.

5. Once all the details are filled out, click on "Save and Close".

Now, you will be able to check the PO requestor's name in the Bill edit form when the PO is matched to the bill.

If multiple purchase orders are linked to a single bill, the name of the PO requester will correspond to the first PO matched with the bill.
The PO requestor's name will appear in the approval timeline too.
