How to add custom fields in Peakflo's Accounts Payable Payments?
To add custom fields, follow the steps below:
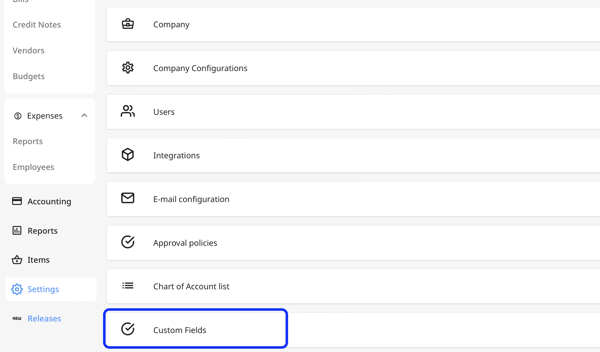
- Log in as Admin. Go to "Settings" ⚙️ and click on "Custom Fields" under general settings.
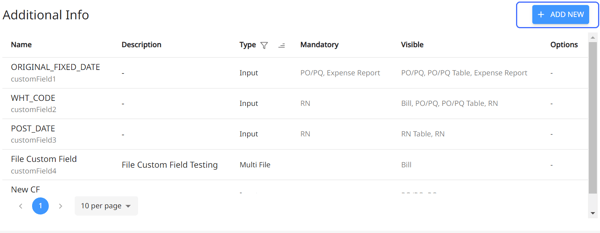
- Click the blue "Add New" button at the top right.
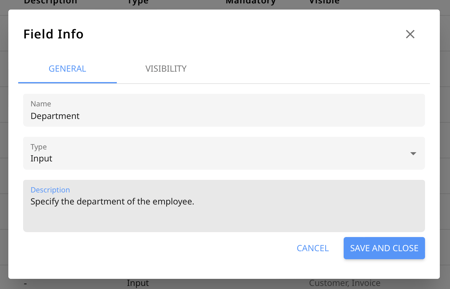
- Once a popup appears, fill out the following fields:
a. Name: The name of the custom field when managing employees could be department, country, etc.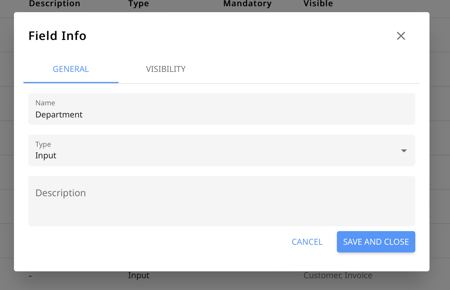
b. Type: Set how the data should be filled by your internal teams, such as in the form of input, number, list, multi-list, multi-file, or date.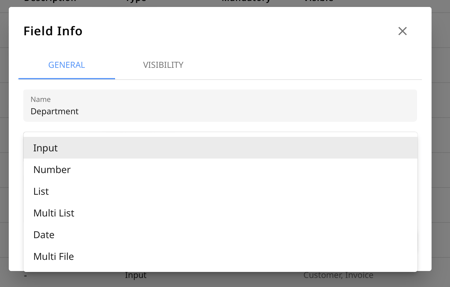
Here's a breakdown:
Input: custom field to add text.
c. Description: Describe the purpose of the custom field to help your internal teams understand how to fill it out.
Number: Custom field to add numbers
List: Custom field to choose only one item from a pre-defined list
Multi-List: Custom field to choose more than one item from a pre-defined list.
Date: Custom field to add a date from the calendar
- Now click on the Visibility tab and tick where you'd like the custom fields to appear with the following configurations:

- Visible: visible as a field in the edit form

- Visible on the table: visible in the table view

- Visible: visible as a field in the edit form
FAQ
Do custom fields of type “Number” support decimals?
Yes, number-type custom fields support decimal values. You can enter both whole numbers and numbers with decimals.