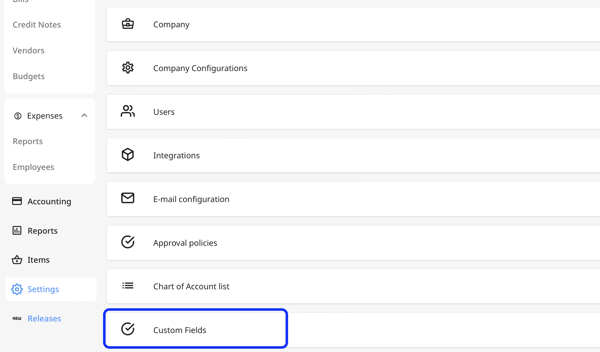
To add custom fields for travel requests, expenses, and expense reports, follow the steps below:
- Log in as Admin. Go to "Settings" ⚙️ and click on "Custom Fields" under general settings.
- Click the blue "Add New" button at the top right.
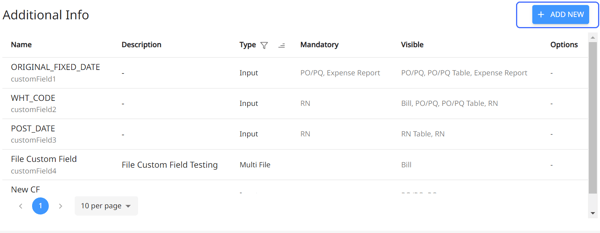
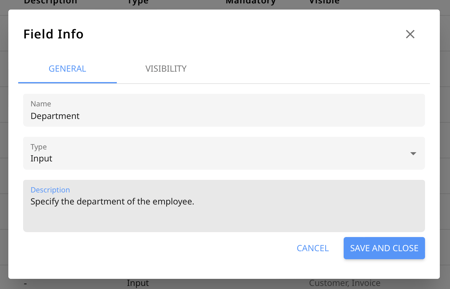
- Once a popup appears, fill out the following fields:
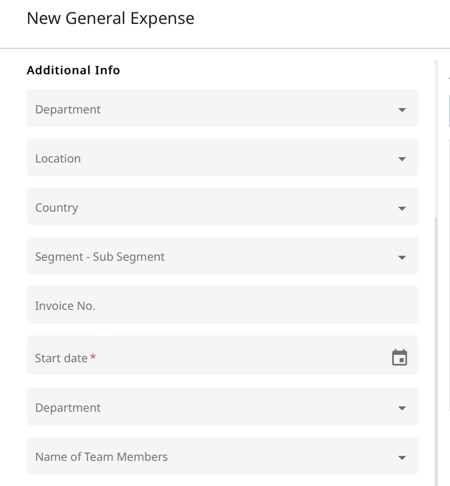
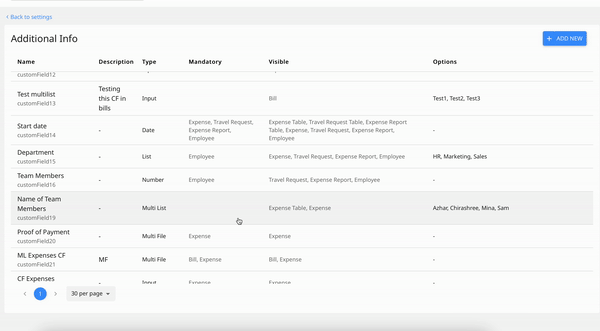
a. Name: The name of the custom field when managing employees could be department, country, etc.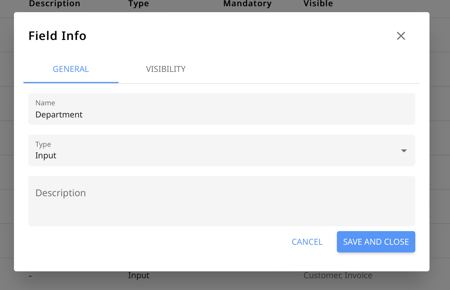
b. Type: Set how the data should be filled by your internal teams, such as in the form of input, number, list, multi-list, multi-file, or date.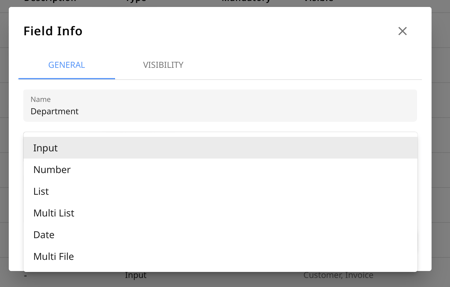
Here's a breakdown:
c. Description: Describe the purpose of the custom field to help your internal teams understand how to fill it out.
Input: custom field to add text.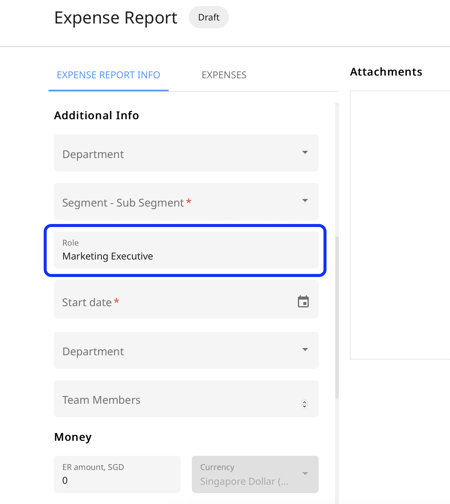
Number: Custom field to add numbers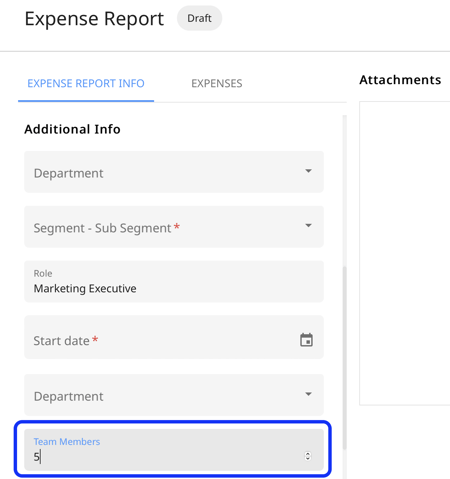
List: Custom field to choose only one item from a pre-defined list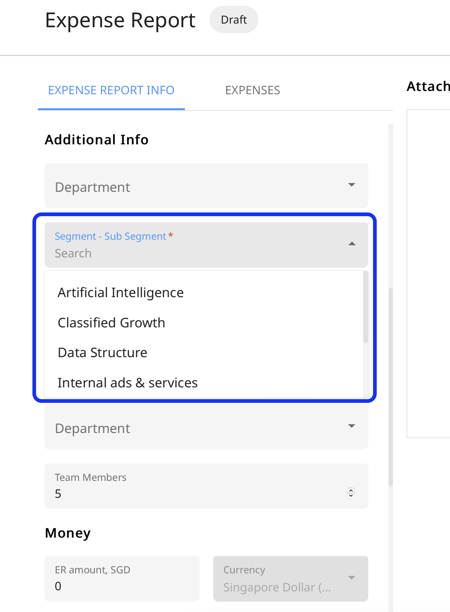
Multi-List: Custom field to choose more than one item from a pre-defined list.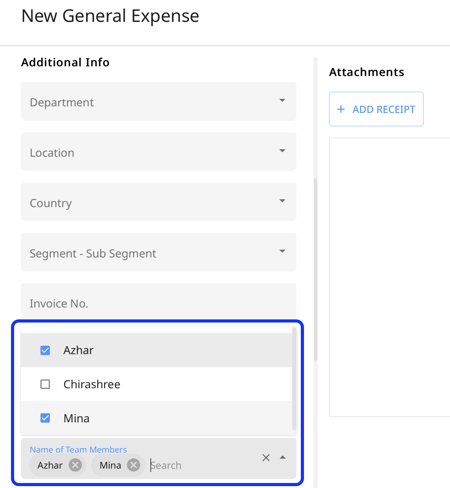
Date: Custom field to add a date from the calendar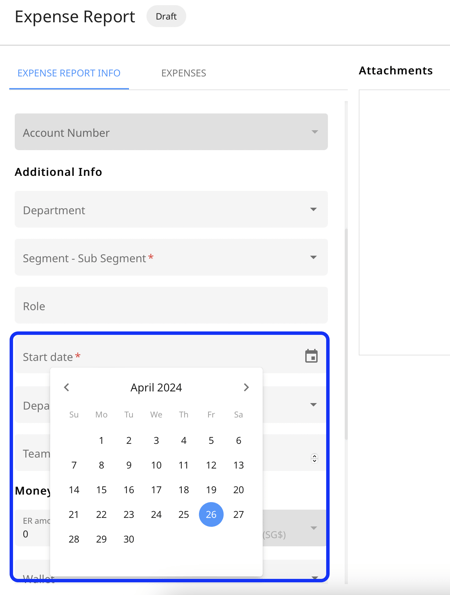
- Now click on the Visibility tab and tick where you'd like the custom fields to appear with the following configurations:
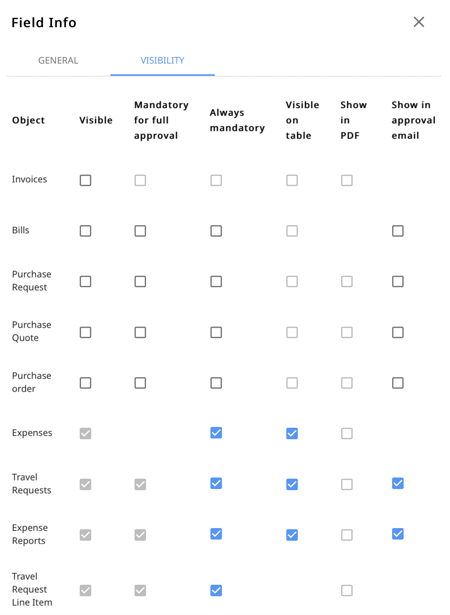
- Visible: visible as a field in the edit form
- Mandatory on approval: mandatory to fill for full approval
- Always mandatory: mandatory to fill from the time of creation
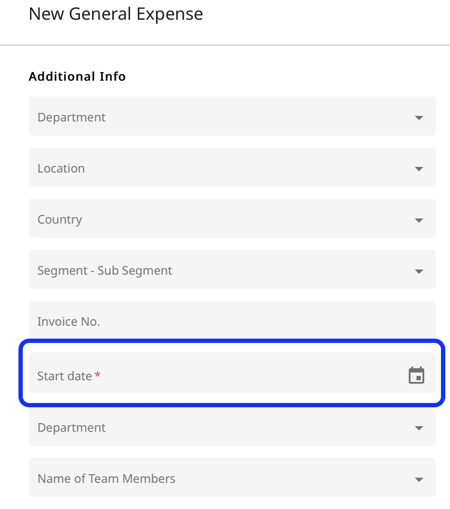
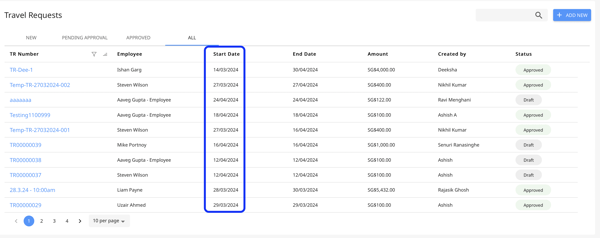
- Visible on the table: visible in the table view
- Show in Approval email: Show the custom fields in the approval emails sent to approvers.

- Visible: visible as a field in the edit form
How to edit a custom field?
1. Click on the custom field you want to edit.
2. Modify or add information and hit Save.
Check the video below for detailed walkthrough:
How to delete a custom field?
1. Click on the custom field you want to edit.
2. Scroll down and hit the Delete button.
3. A pop-up will appear, click on "Yes, Delete" to complete the process.
Check the video below for detailed walkthrough:

When the Custom Field is synced from your accounting software/ ERP, then you have the option to deactivate and activate back the custom values.
To do so, click on the custom field you want to deactivate the values for, and click on the toggle beside each custom field value. Toggle to right to activate and toggle to left to deactivate.

FAQ
Do custom fields of type “Number” support decimals?
Yes, number-type custom fields support decimal values. You can enter both whole numbers and numbers with decimals.